

How to Access DirectAdmin and Explore the Panel’s Main Features
Learn how to access DirectAdmin, identify the active domain, and find your hosting’s email, file, DNS, and database tools.
DirectAdmin is the panel where you manage your websites, email, and other hosting features. In this tutorial, you will learn how to log in, recognize the dashboard, and find the most frequently used tools.
Before you begin
Have the DirectAdmin URL and the hosting username and password you received when your service was activated ready.
Use an up-to-date browser and an Internet connection.
Remember that DirectAdmin and the Hostednode client area have separate logins. For the panel, you need your hosting account credentials.
If you cannot find your login details, check your service activation information or request help through the Hostednode client area
1. Open your panel address
Open a browser tab and enter the DirectAdmin URL assigned to your hosting. It usually uses HTTPS and port 2222, with a structure like this:
https://SERVIDOR-ASIGNADO:2222SERVIDOR-ASIGNADO is a placeholder: replace it with the name specified in your login details. If you received a different URL, use that full address.
Detail | How to identify it |
|---|---|
Server or panel URL | Identifies the server you need to connect to. This demonstration uses |
Website domain | This is the domain you manage within your hosting. In the screenshots, it is |
Hosting username | This is the DirectAdmin account name. The screenshots use |
Password | Use your hosting account password. It is not shown in the screenshots, and you should not share it in a support ticket. |
2. Log in to DirectAdmin
In Username, enter your hosting account username.
In Password, enter that account's password, paying attention to uppercase and lowercase letters and symbols.
Click the login button below the fields or press Enter.
If you have two-step authentication enabled and the panel requests it, complete the verification to continue.
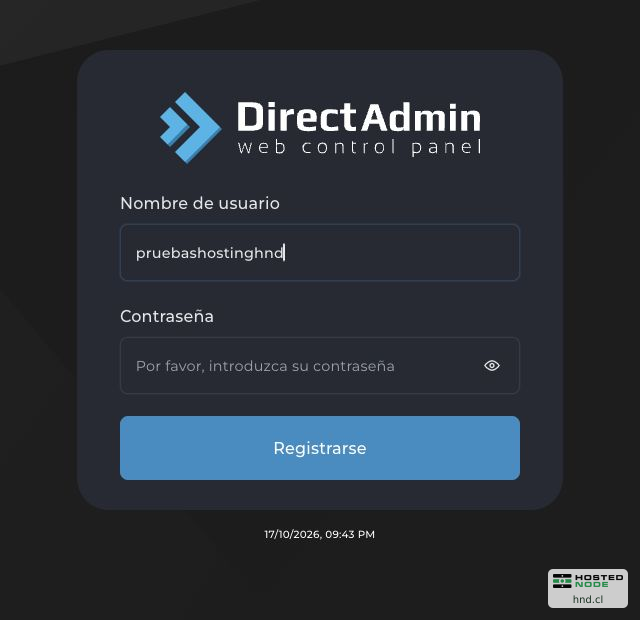
The button text may vary depending on the language or version. In the installation shown, it says Sign up, although this form is used to log in with an existing account; you do not need to create another account.
3. Get familiar with the full dashboard view
After logging in, you will see the dashboard. The main area organizes icons into groups, and the right-hand column displays account information. This overview will help you find your way through the following steps.
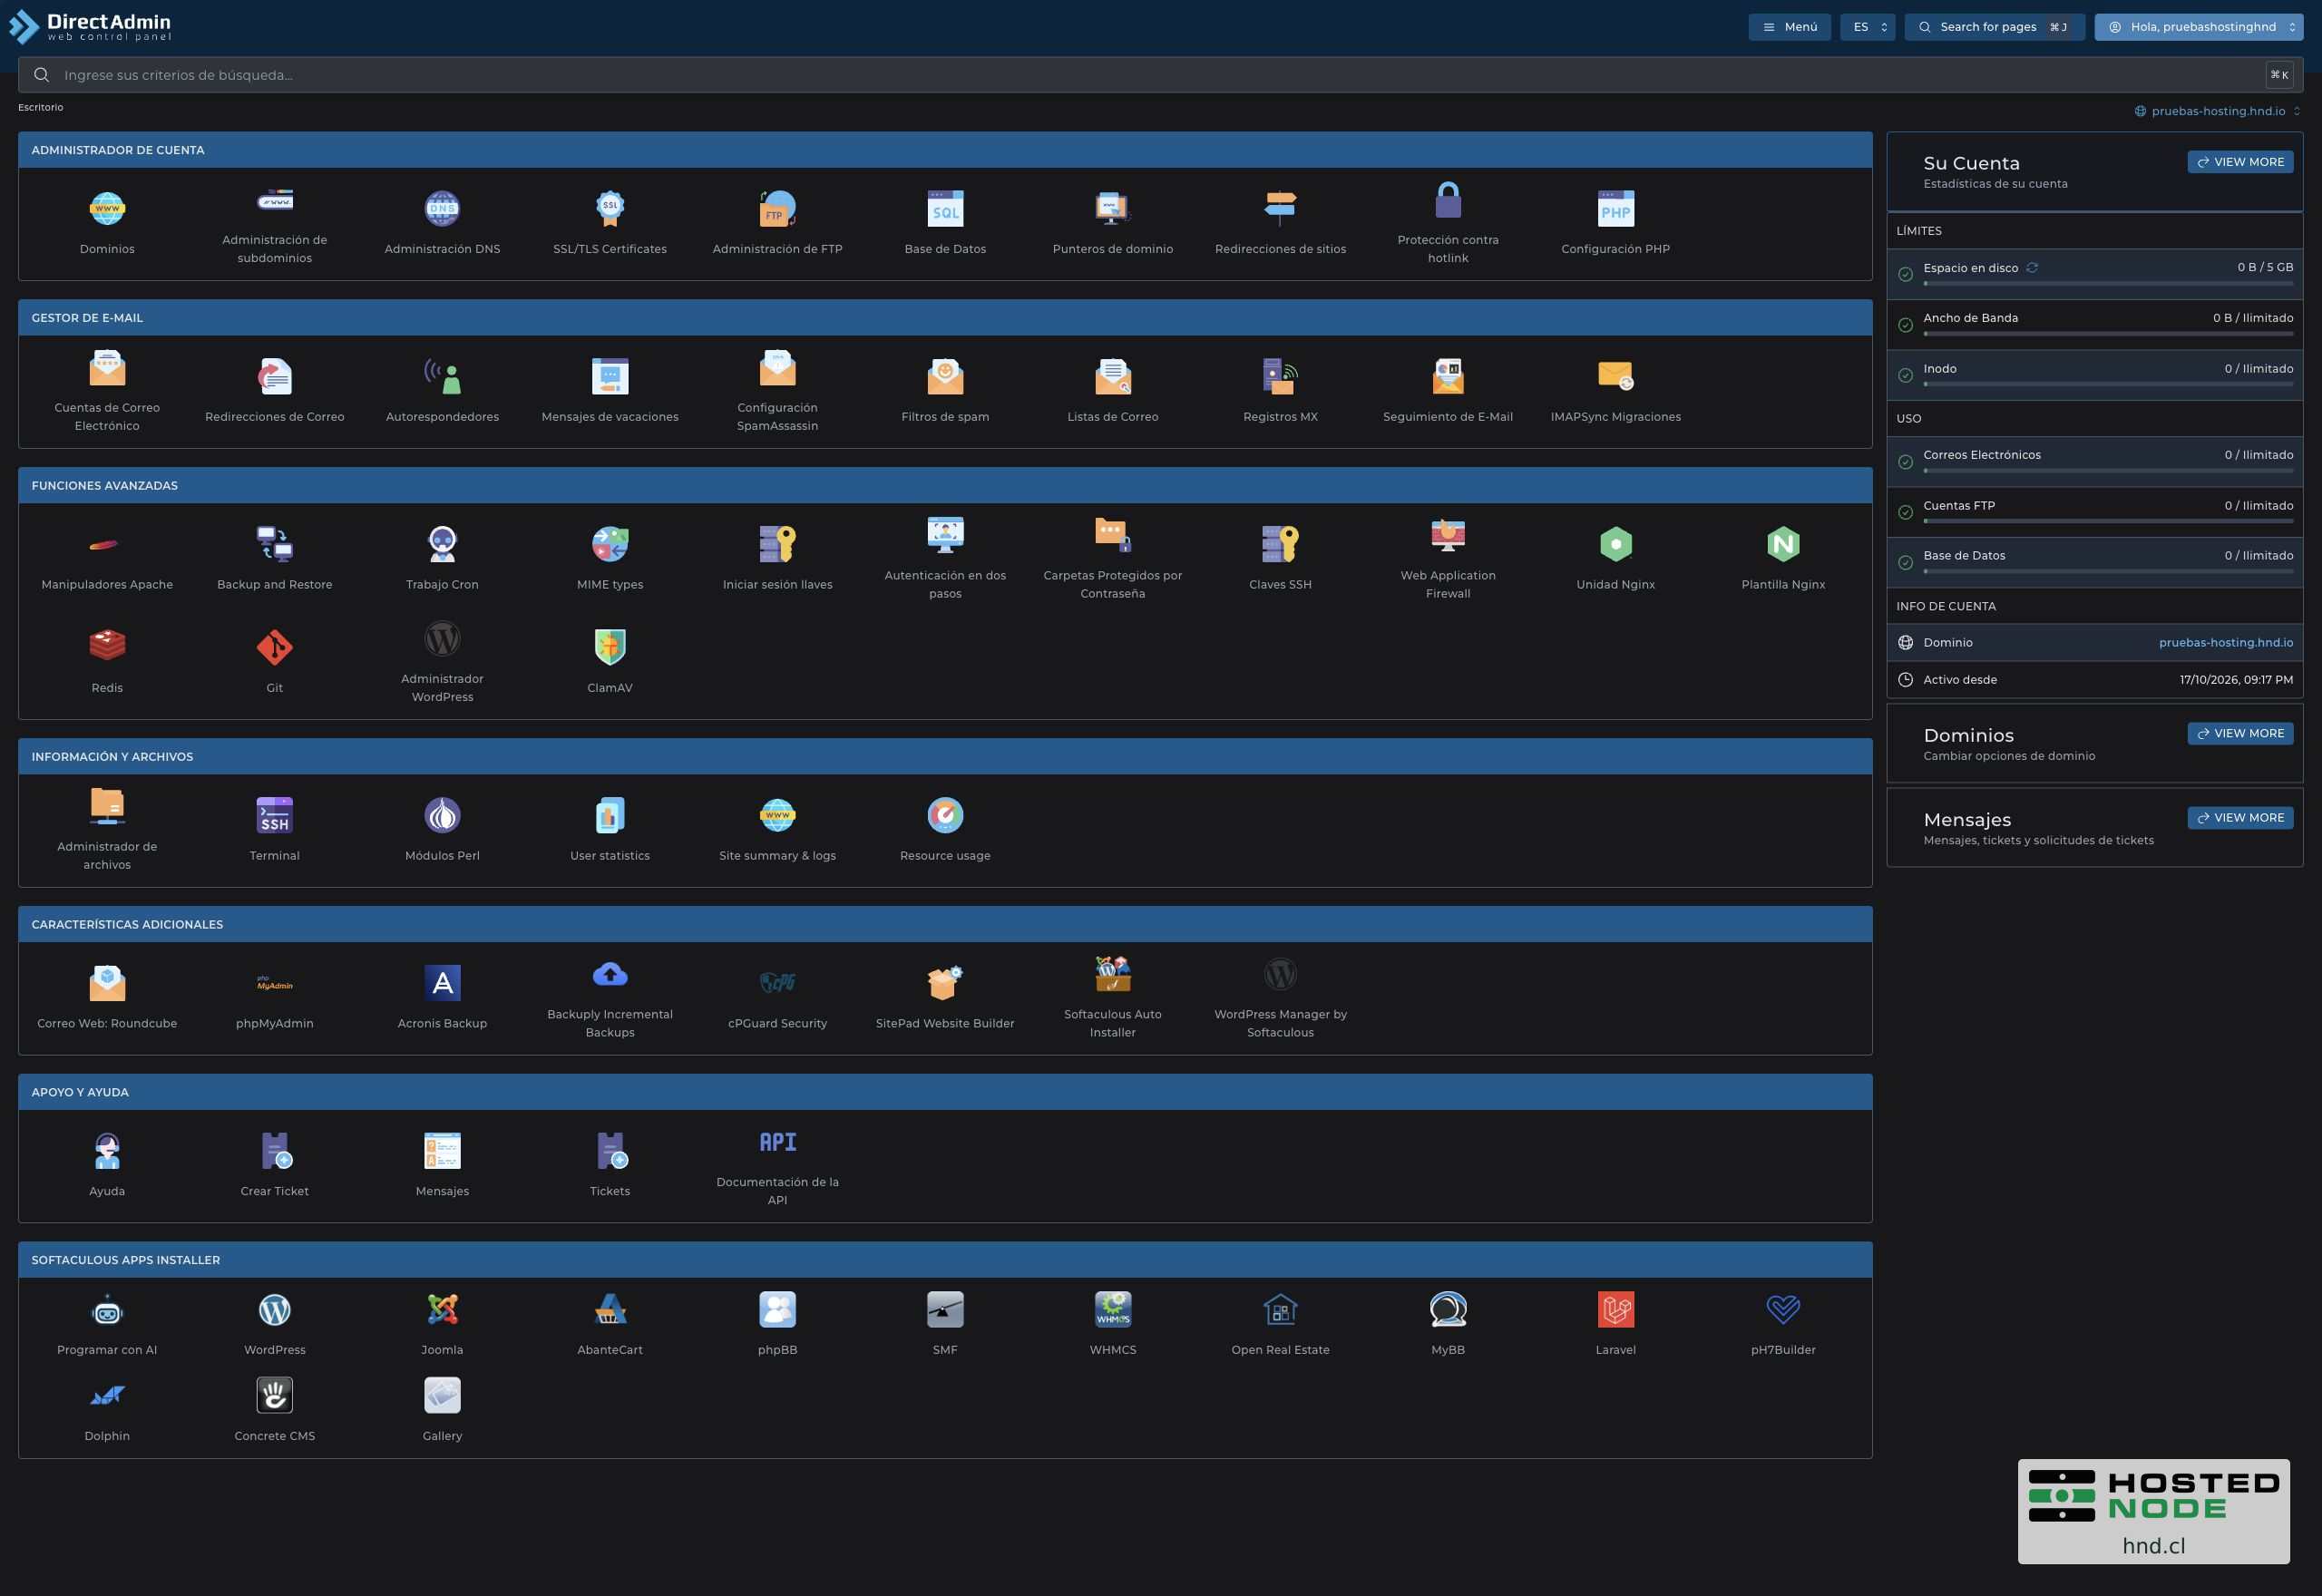
This account displays seven groups: Account Manager, E-mail Manager, Advanced Features, System Info & Files, Extra Features, Support & Help and Softaculous Apps Installer. Some names may be partly in English.
4. Locate the navigation and active domain
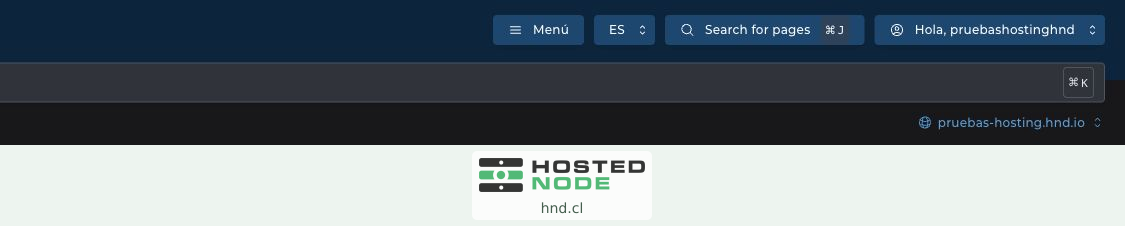
Menu and search: help you find tools. You can search for terms such as “email,” “DNS,” or “files” instead of browsing through all the icons.
Language: the selector at the top indicates the interface language; the screenshots use Spanish.
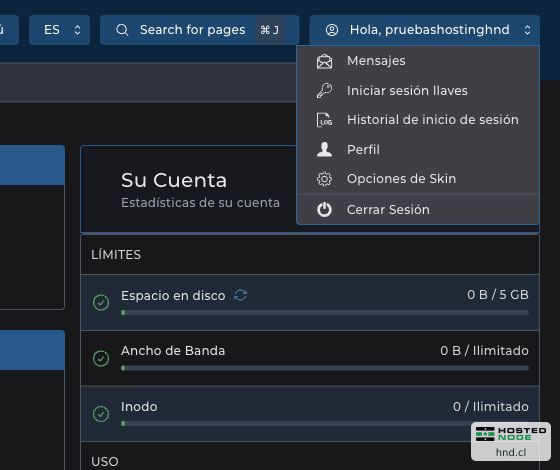
User menu: contains links to your profile, login history, and logout.
Active domain: shows the domain you are working with. If your account manages several domains, select the correct one before reviewing or changing a setting.
The domain in the screenshots is an example. Check the name displayed in your own account; do not confuse that selector with the panel's server address.
5. Explore the main features
Account Manager: websites, DNS, certificates, and databases

Domains and Subdomain Management: let you view and manage the account's domains and subdomains, as permitted by your plan.
DNS Management: contains the domain's DNS records. Before modifying them, confirm that you are working in the zone that corresponds to your service.
SSL/TLS Certificates: lets you manage website certificates. Your domain's certificate and access to the panel are separate elements.
FTP Management: lets you manage the accounts used by FTP clients to connect to your hosting files.
Databases: lets you manage databases and their users for applications such as WordPress.
PHP Settings: lets you review and adjust the available PHP options. You will also find options such as site redirects and domain pointers within this group.
E-mail Manager: email for your domain

E-mail Accounts: manages the domain's mailboxes, for example
contacto@tudominio.example.E-mail Forwarders: lets you direct messages to another address.
Autoresponders and Vacation Messages: let you prepare automatic replies for the relevant situations.
SpamAssassin and Spam Filters: group together options for filtering unwanted email.
MX Records and Email Tracking: let you check where mail is routed and view delivery information when these features are enabled.
To read and send messages from your browser, look for Webmail: Roundcube under Additional Features. Managing mailboxes and opening webmail are different tasks.
System Info & Files: site content and usage information

The File Manager lets you browse your account's files. For a site hosted using the standard DirectAdmin structure, its public files are located inside domains/TU-DOMINIO/public_html; replace TU-DOMINIO with the domain you are managing.
This group also provides access to statistics, logs, and resource usage. Some labels may appear as User statistics, Site summary & logs or Resource usage. The Terminal option, when enabled for your account, provides command-line access and is not needed for this initial walkthrough.
Advanced Features: backups, scheduled tasks, and security
Here you can find Backup and Restore, Cron Jobs, Two-Step Authentication, SSH Keys, Git and other technical tools. Backups let you create or restore copies; Cron is used to schedule tasks, and the security options help protect access.
Additional Features and Softaculous
The demo account includes links to Roundcube, phpMyAdmin, backup and security tools, a website builder, and Softaculous. Softaculous brings together installers for applications such as WordPress; its availability and the applications offered depend on the service configuration.
This tutorial helps you locate them. Before installing an application or restoring a backup, follow the specific procedure and verify the destination domain to avoid replacing an existing site.
Support and Help
This group may display help, messages, tickets, and panel API documentation. To request assistance with your Hostednode service, use the support channel in your client area.
6. Review your account details and limits
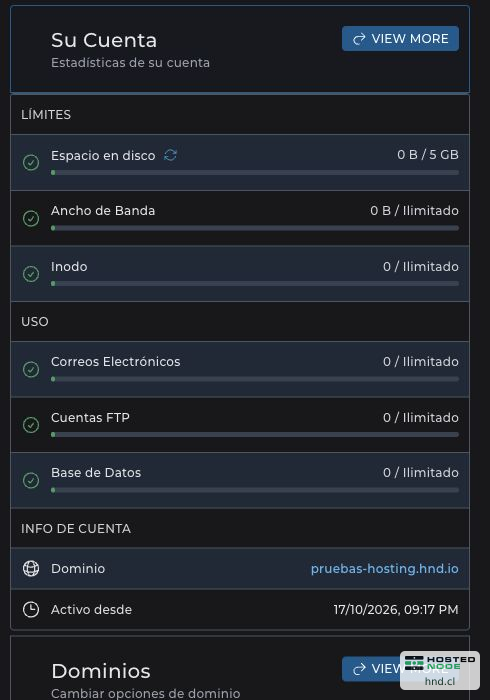
The Your Account column brings together hosting usage and details. Read the values for your own account; the amounts in the screenshots apply only to the demo environment.
Disk Space: compares recorded usage with the capacity available to the account.
Bandwidth: shows recorded data transfer and the limit displayed by the panel.
Inode: relates to the number of files and directories counted.
Usage: summarizes items such as mailboxes, FTP accounts, and databases.
Account Info: lets you identify the domain and other available service details.
If a field shows Unlimited, that label applies to that specific item; it does not mean that all hosting capacities are unlimited. Statistics may take time to update and should not be interpreted as an instantaneous measurement of all resources.
7. Log out when you are finished
Click your user menu in the upper-right corner.
Select Log Out.
Check that you return to the login form, especially if you are using a shared computer.
If you cannot log in or cannot find an option
Situation | What to check |
|---|---|
The page does not open | Check your service's full URL and the specified port. If a network blocks the connection, try another trusted connection or contact support. |
A certificate warning appears | Verify the server name and that you are using the URL provided for your hosting. If the warning persists, contact support before entering your credentials. |
The username or password is rejected | Check that you are using your hosting credentials and have not added spaces when copying them. Avoid repeated attempts with uncertain details, and ask for help if you cannot confirm them. |
A tool is missing | Search for it by name, expand the window, and check whether it is enabled in your plan. Another account's view may include different features. |
If you need help, send the panel URL, your domain, and a description of the problem, without including your password: Open a technical support ticket
With this walkthrough, you can now identify your panel, log in and out, check the active domain, and locate the main features to continue with the tutorials on email, files, domains, and databases.