

How to Create a Database and Associate Its User in DirectAdmin
Create a database with its user in DirectAdmin, save its connection details, and verify the association under Manage.
The Database tool lets you create a database and the user who will have access to it. You can use the simple form or advanced mode to choose a different username and set its password.
Before you begin
Log in to the hosting account that will manage the database.
Check the database limit and available space.
Prepare a recognizable name for the database and save the credentials in a password manager.
1. Open the creation form
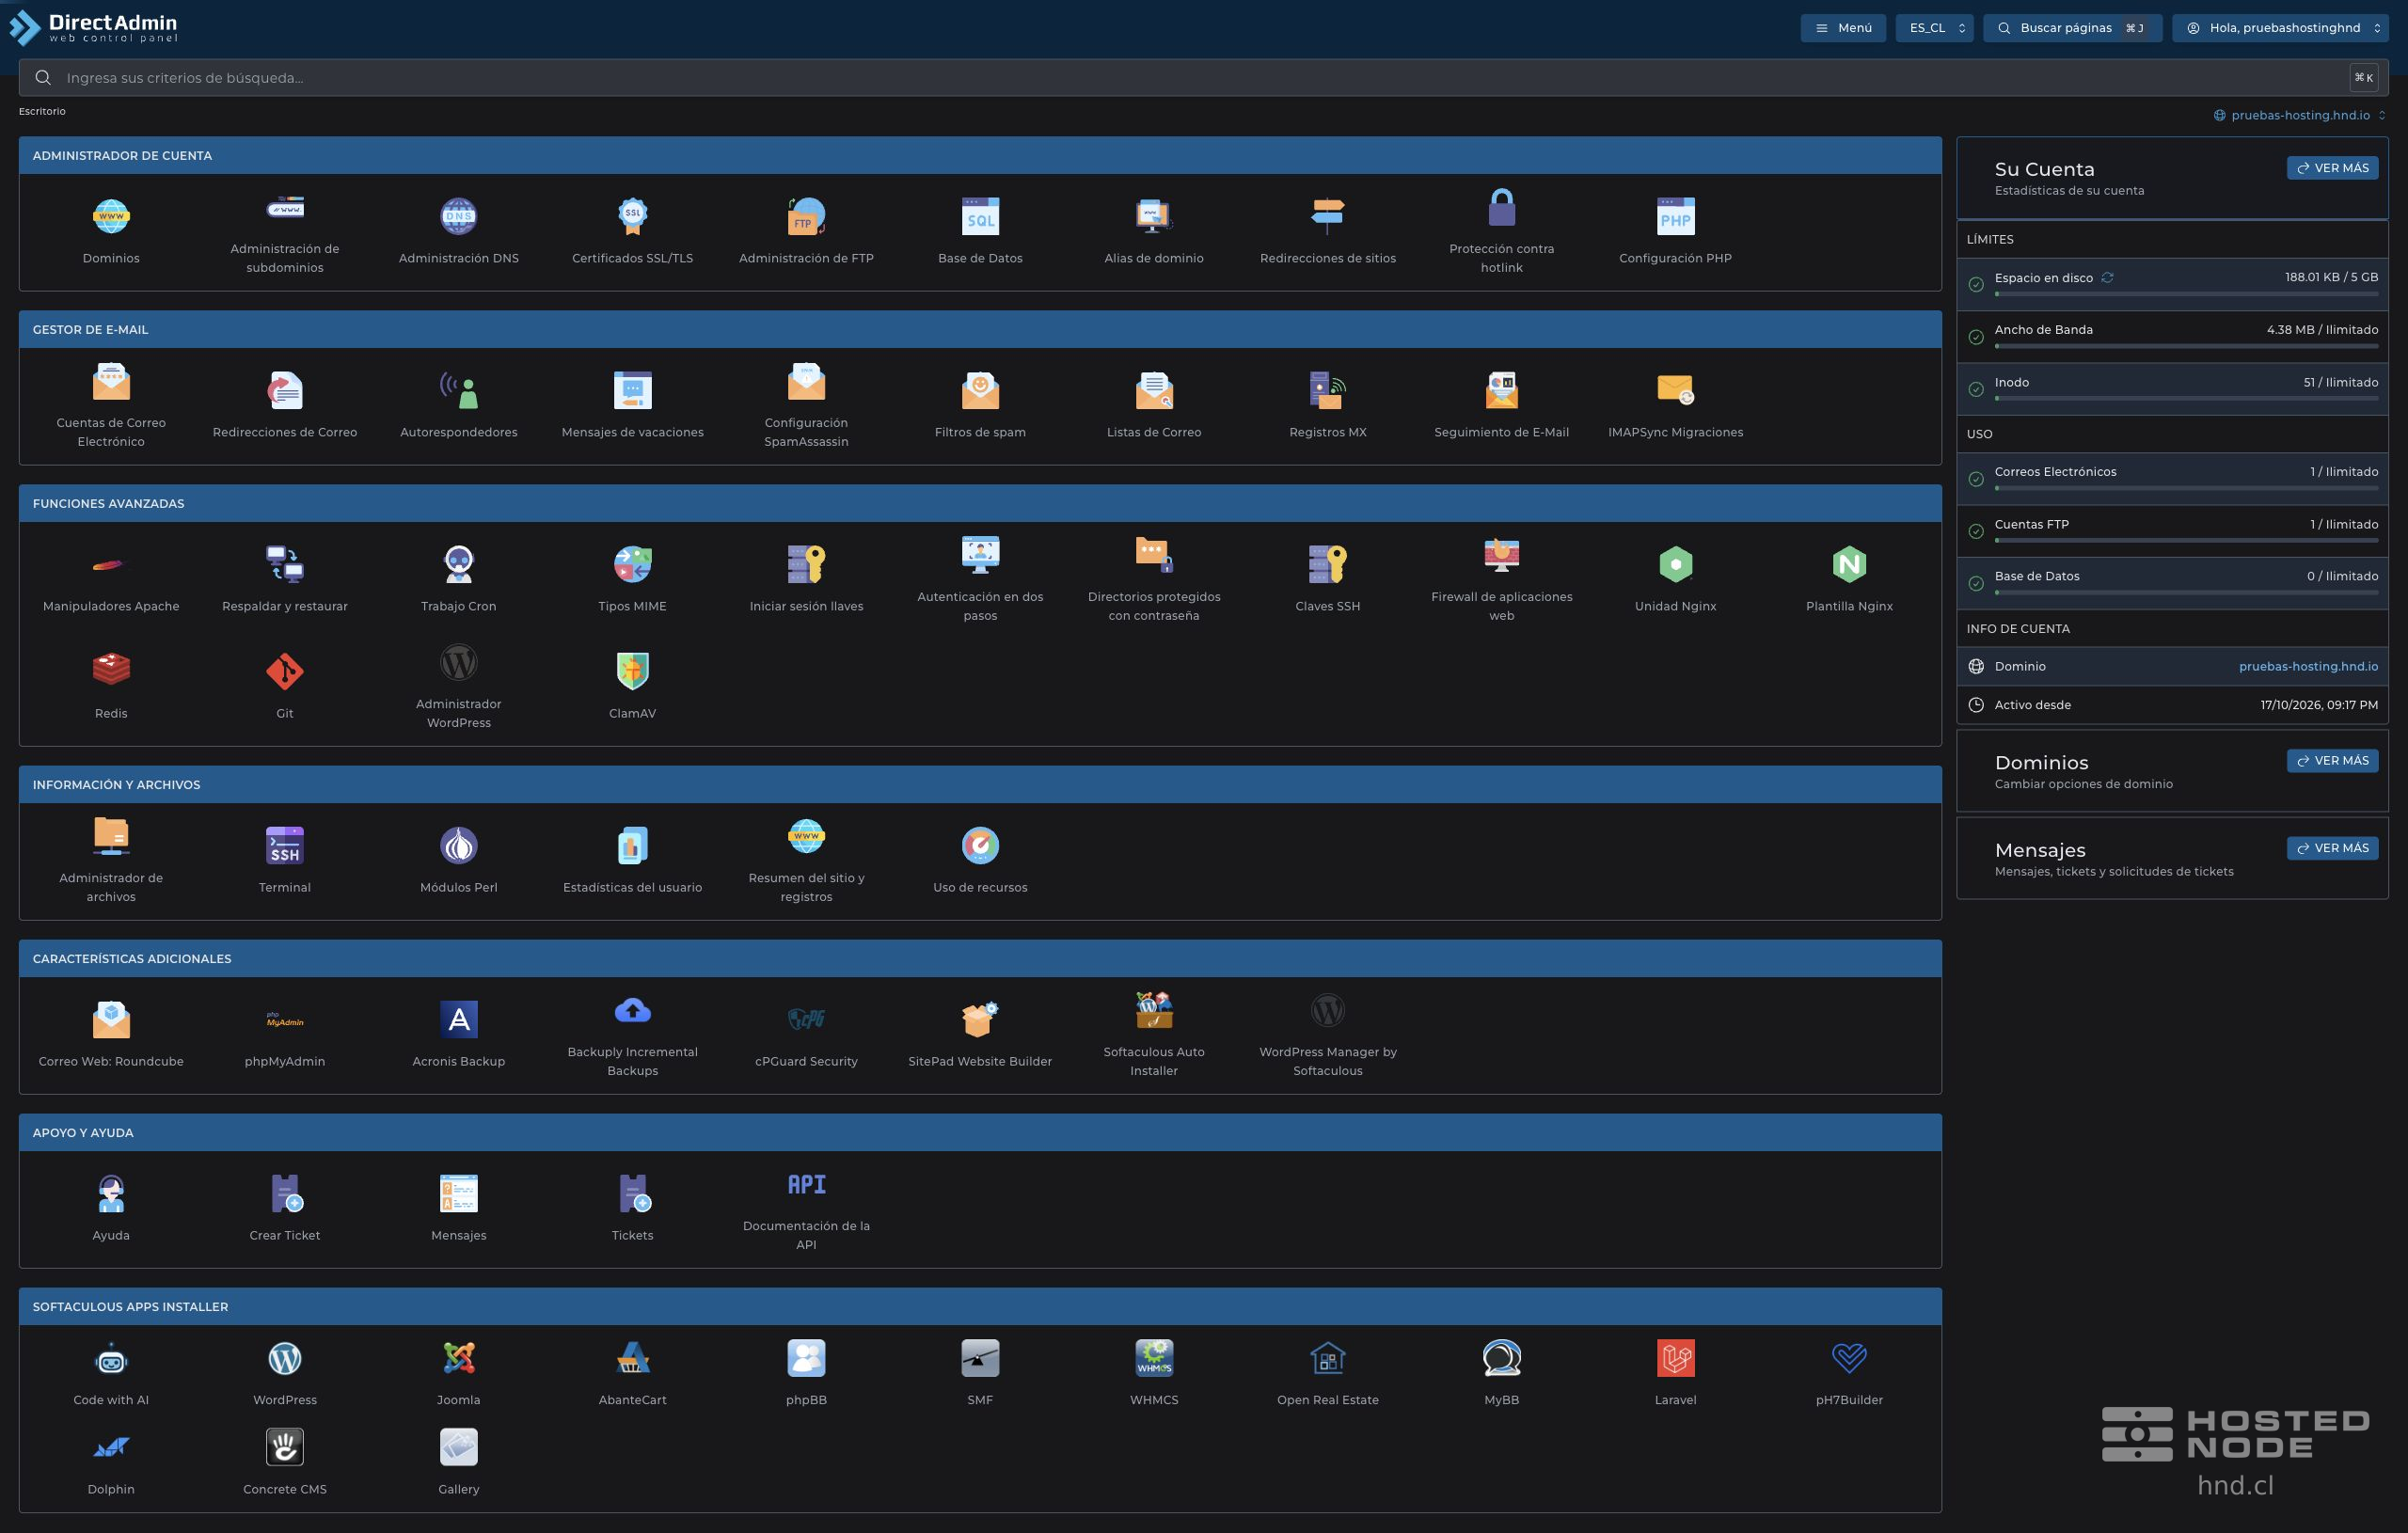
From the dashboard, go to Account Manager → Database. Below Database List you will find Create Database.
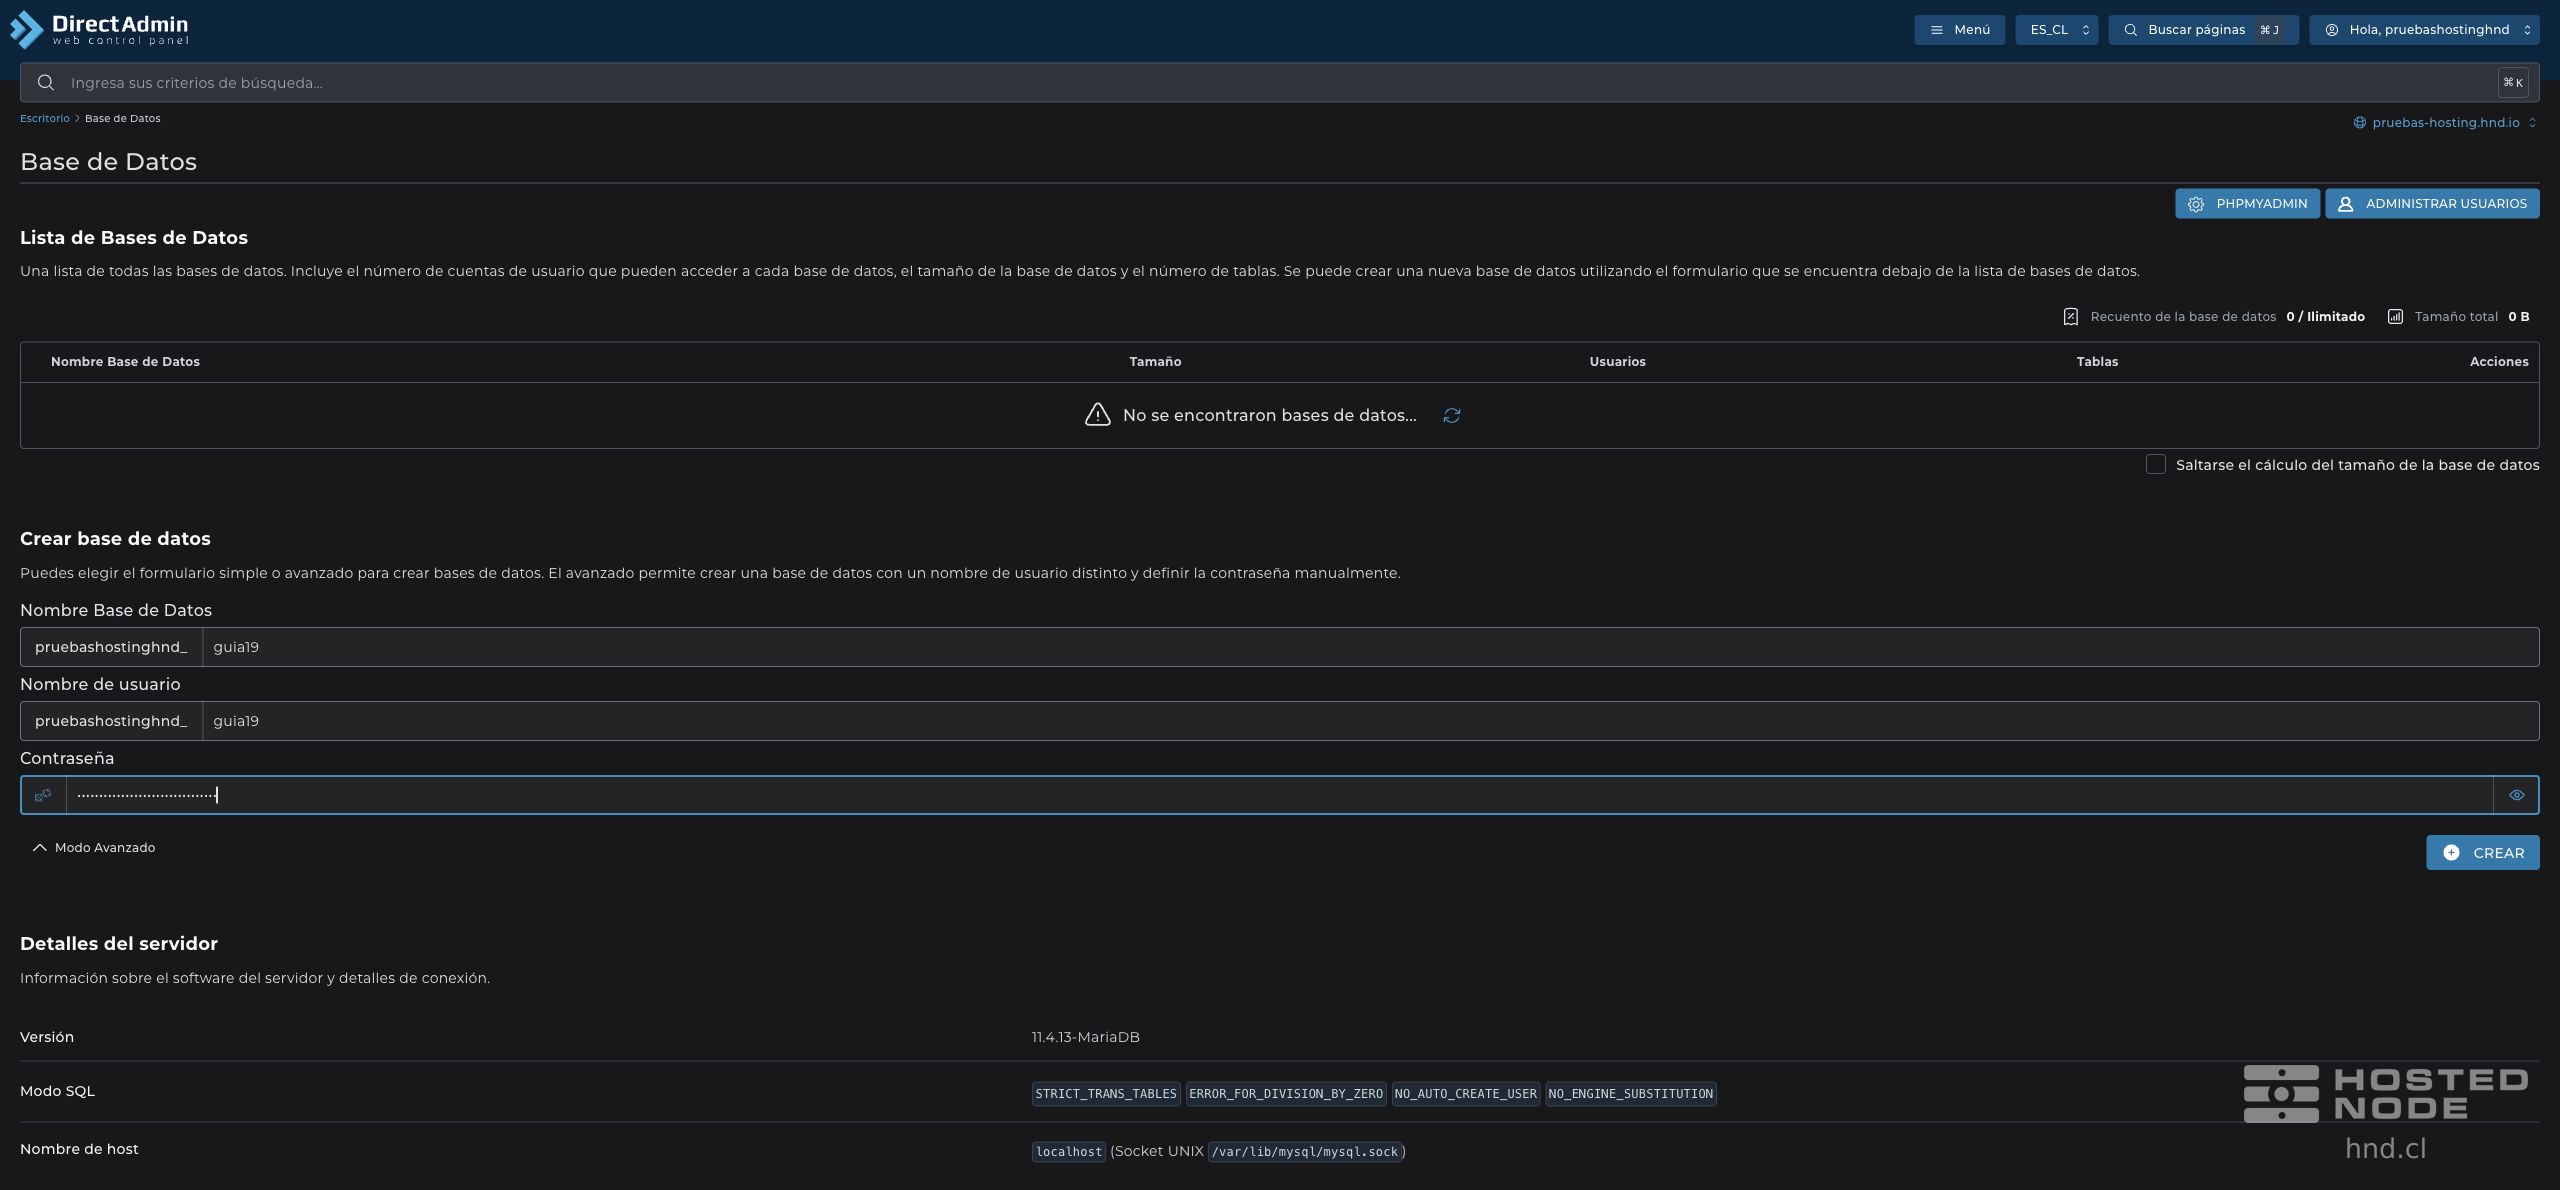
Simple mode generates a user with the same name and a secure password. To specify all three details explicitly, open Advanced Mode.
2. Set the database, username, and password
In Database Name, enter the name suffix. Do not repeat the account prefix already shown in the panel.
In Username, enter the suffix for the user that will be created with access to that database. You can use the same suffix or another recognizable one.
Enter a long, unique password or use the panel's generator. Store the password securely.
Review the details and click Create.
3. Save the details and check the association
The panel displays Database created and a summary with the hostname, database, username, and password. Save the details before closing: the password is only shown in this summary. Do not share it or include it in screenshots.

Close the summary and locate the database in the list. The Users column should show the user you created. Click Manage in that row to review User Access and their privileges.
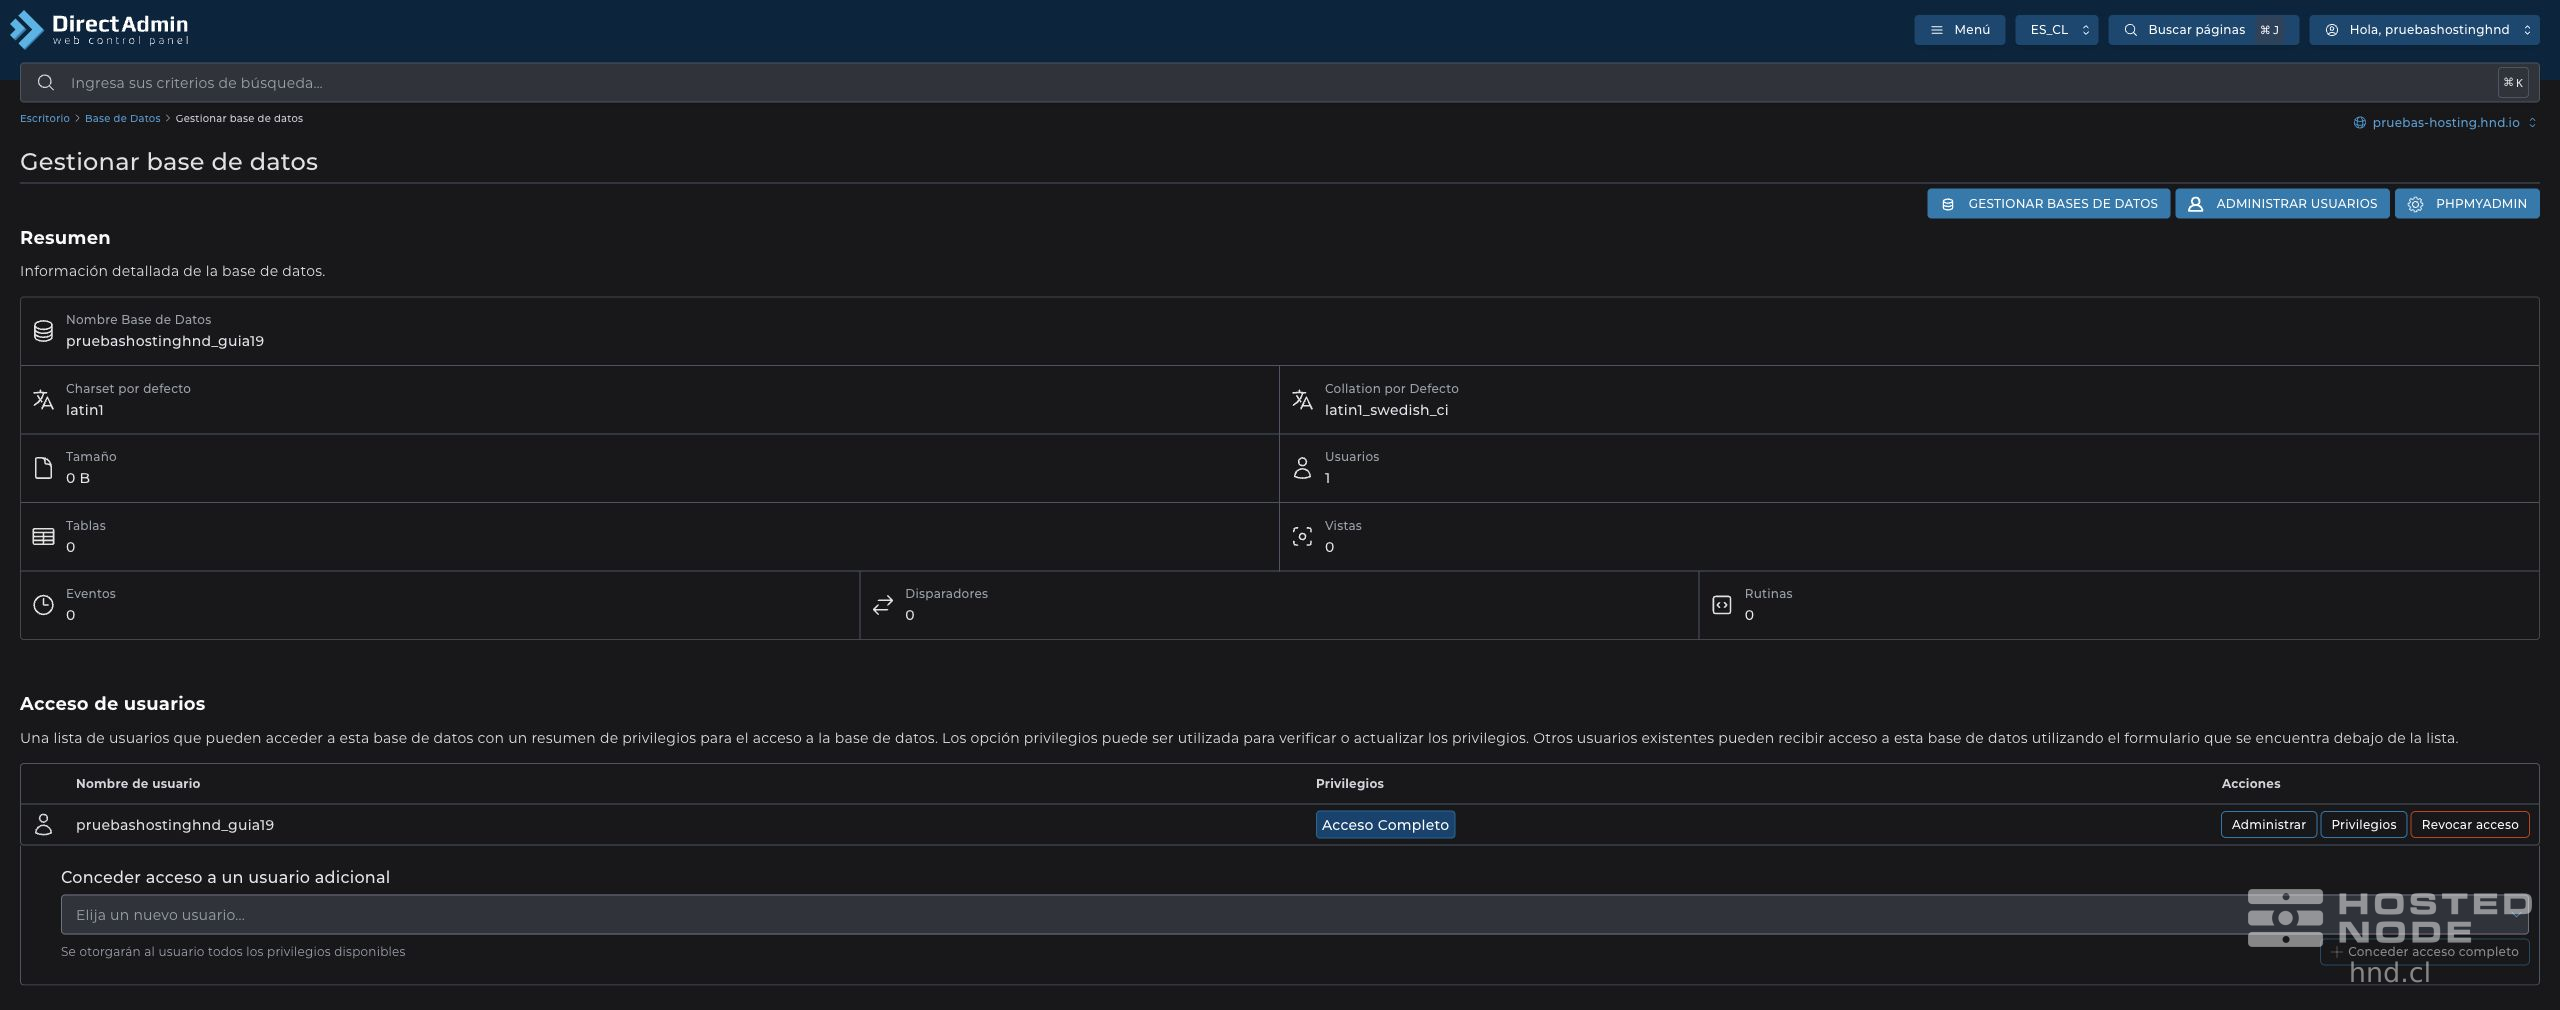
Use the connection details shown by your panel when configuring the application. This installation shows localhost; the server and socket location may vary. The presence of the database and user confirms their creation and association, but you must check the connection from the application when configuring it.
If the panel rejects a name or password, follow the validation message and check that the resource does not already exist before trying to create it again.