

How to Install WordPress with the DirectAdmin WordPress Manager
Install WordPress with DirectAdmin's native manager, select its location, and configure the administrator account from Advanced Mode.
DirectAdmin's WordPress Manager offers locations ready for installation and lets you create WordPress sites directly from the panel. Check the directory carefully before confirming the installation.
Before you begin
Select the domain you will manage. If you need a subdomain, create it first.
Check the DNS and certificate for the name the site will use.
Use an empty location or have an up-to-date backup: the installer warns that it may overwrite files.
Prepare the title, administrator username, a unique password, and an email address you control.
1. Select a location
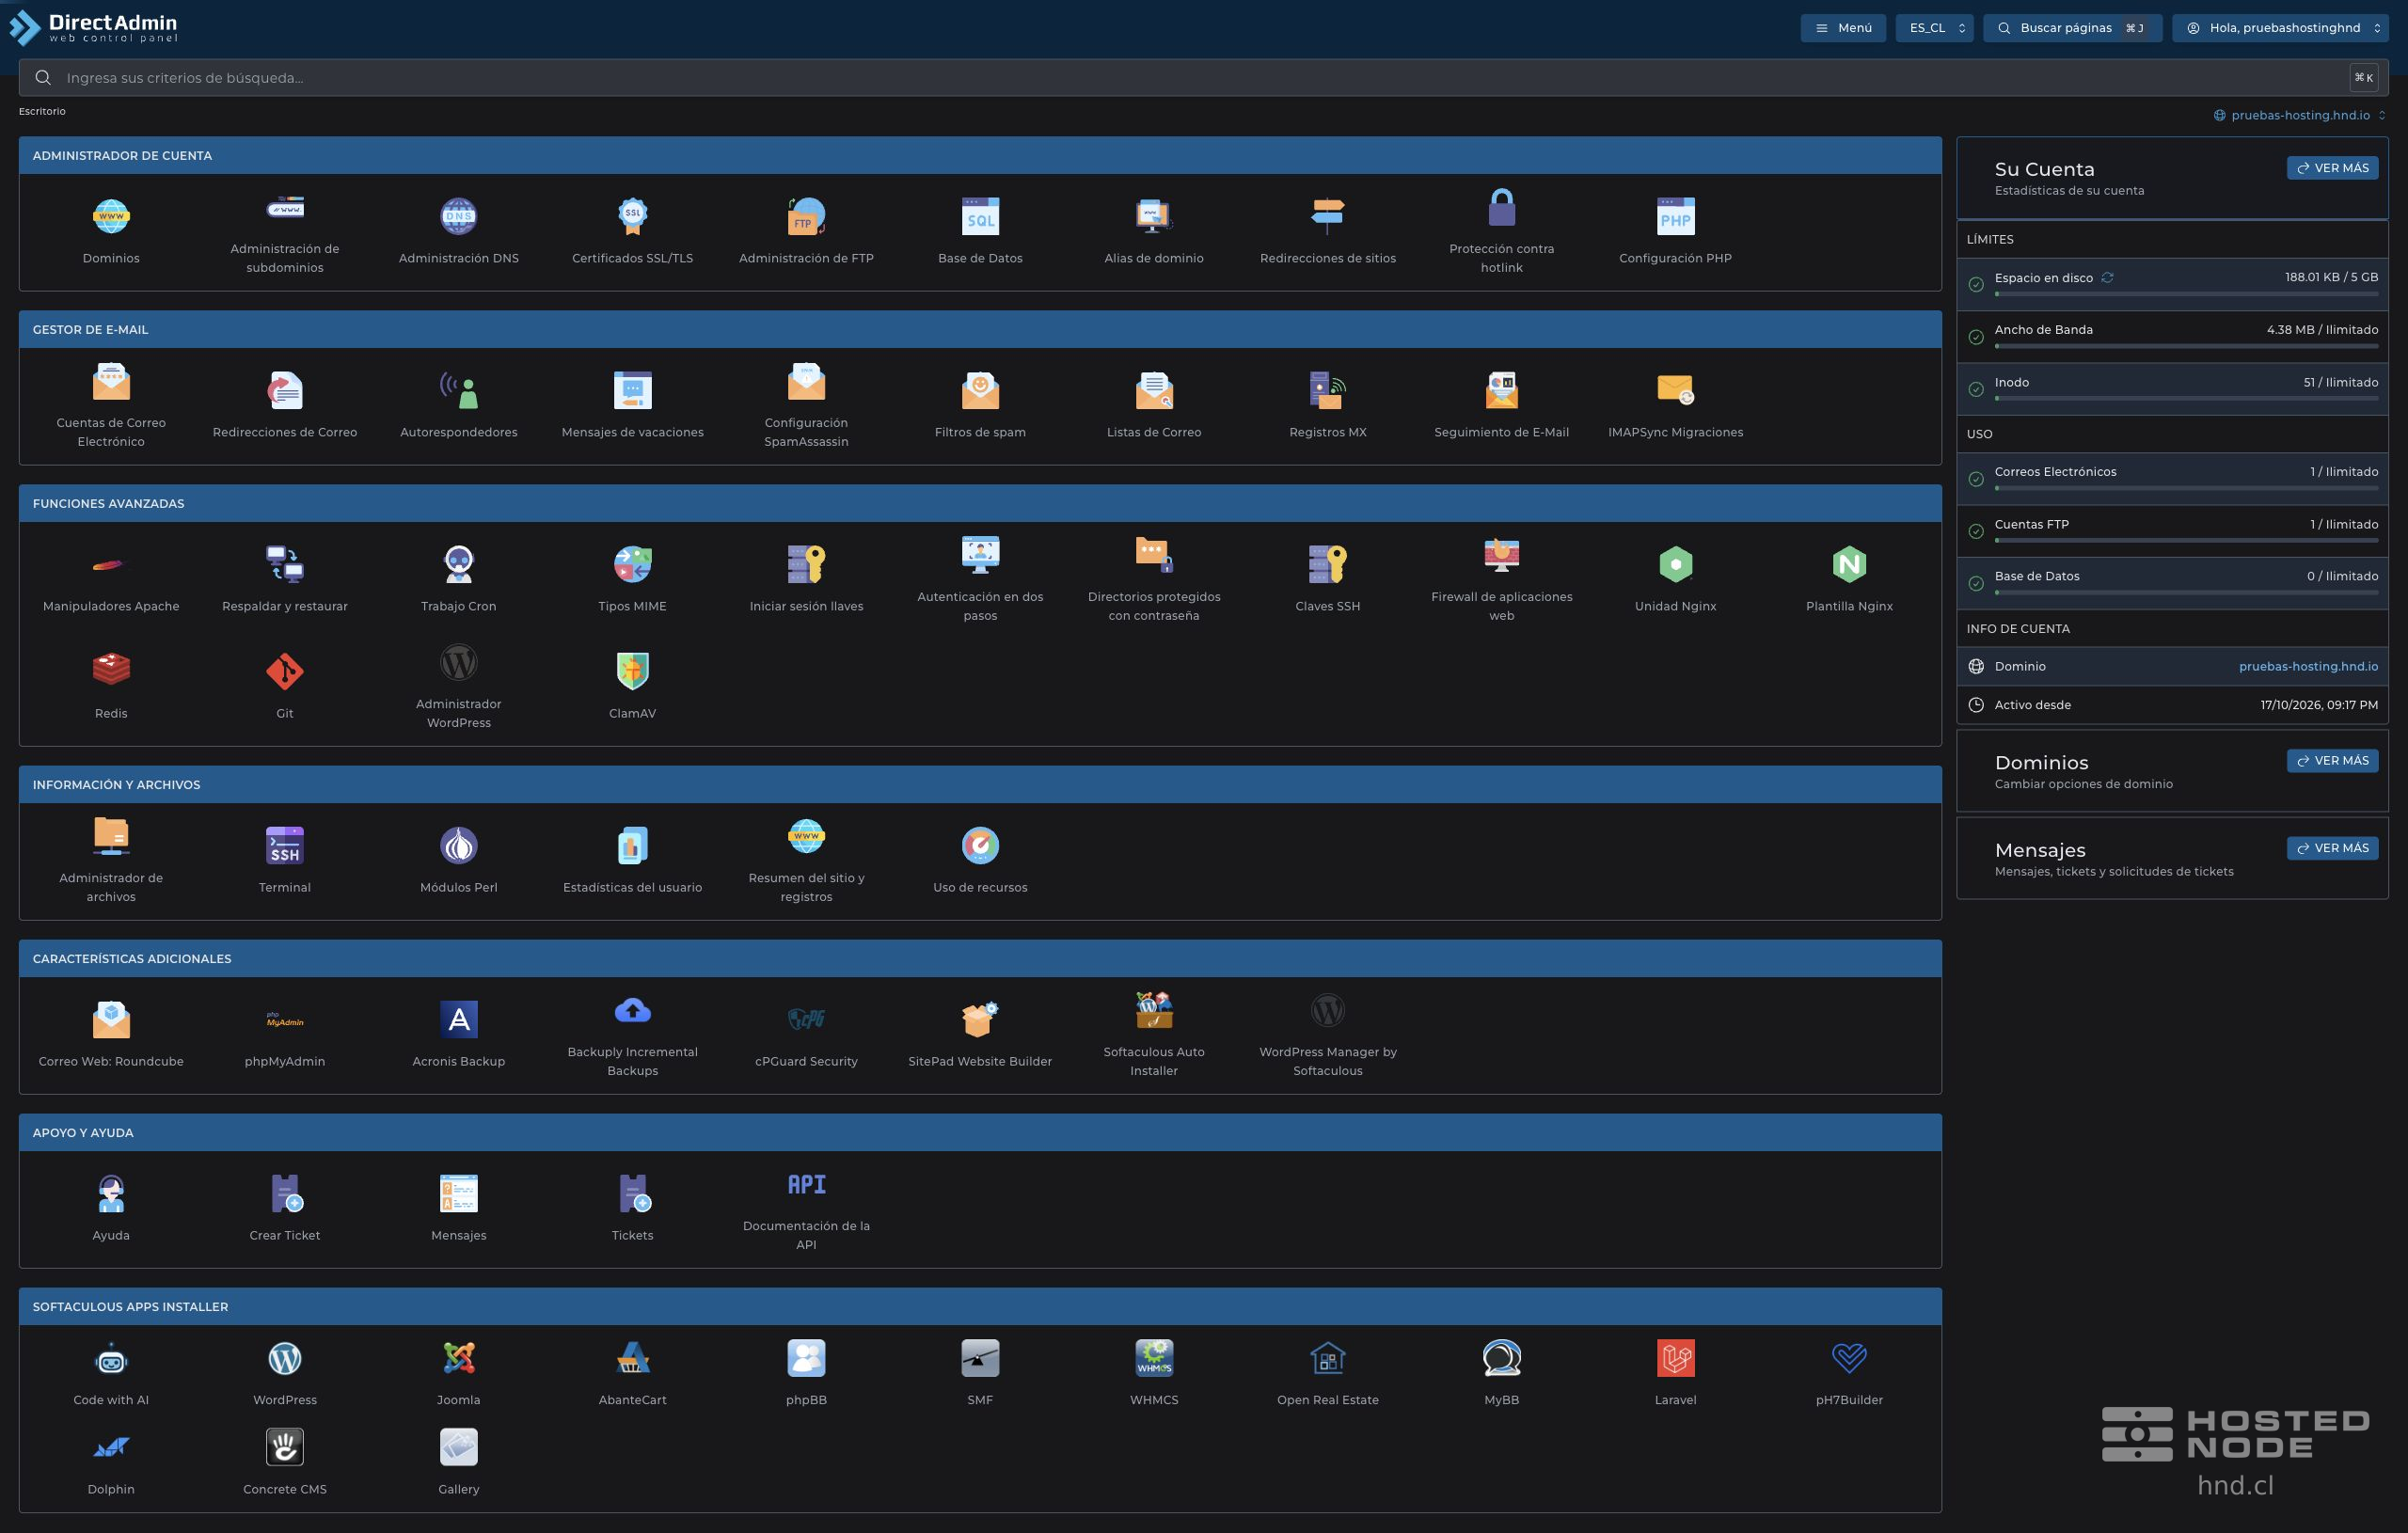
From the dashboard, open Advanced Features → WordPress Manager. Find Directories without WordPress and click Install in the row for the correct hostname.
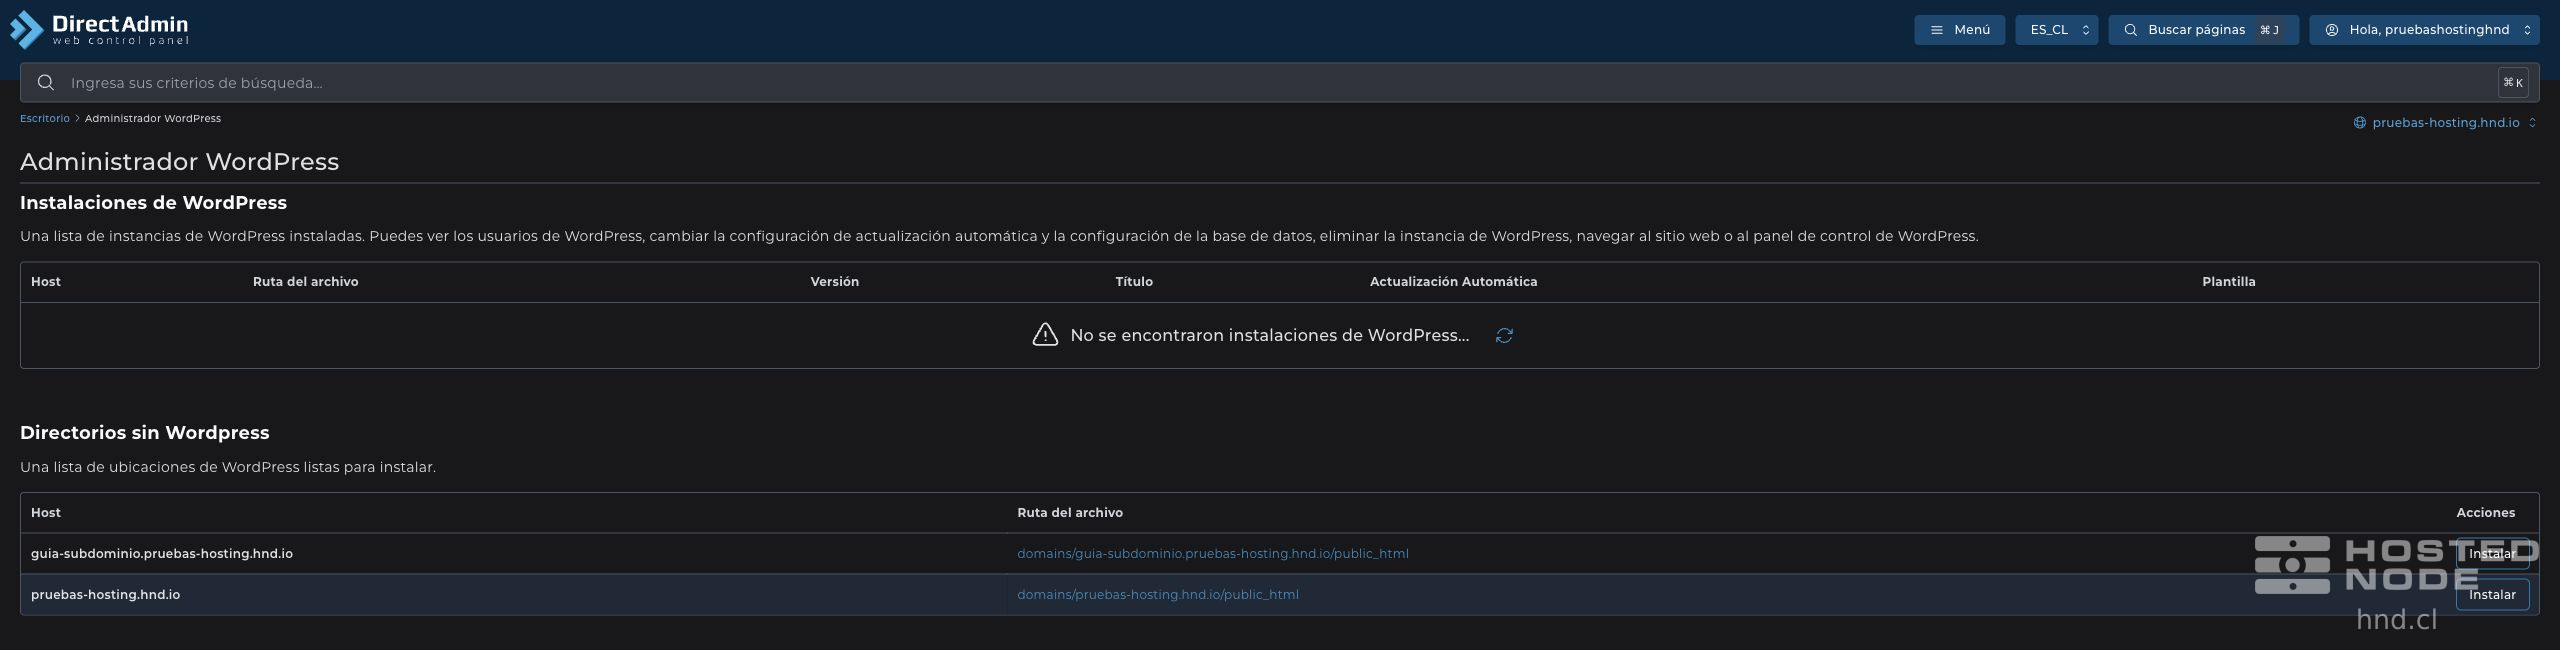
The File Path column identifies the folder that will be used. Do not select the row for an existing site without checking its contents.
2. Complete the form
Check Directory, which is fixed to the selected location.
Enter the site's Title in the field.
Open Advanced Mode to review the administrator account details.
In Administrator Email, use an address you control. Review any value the panel has filled in.
Set Administrator Account Name and Administrator Password. Save the password in a password manager and keep it hidden.
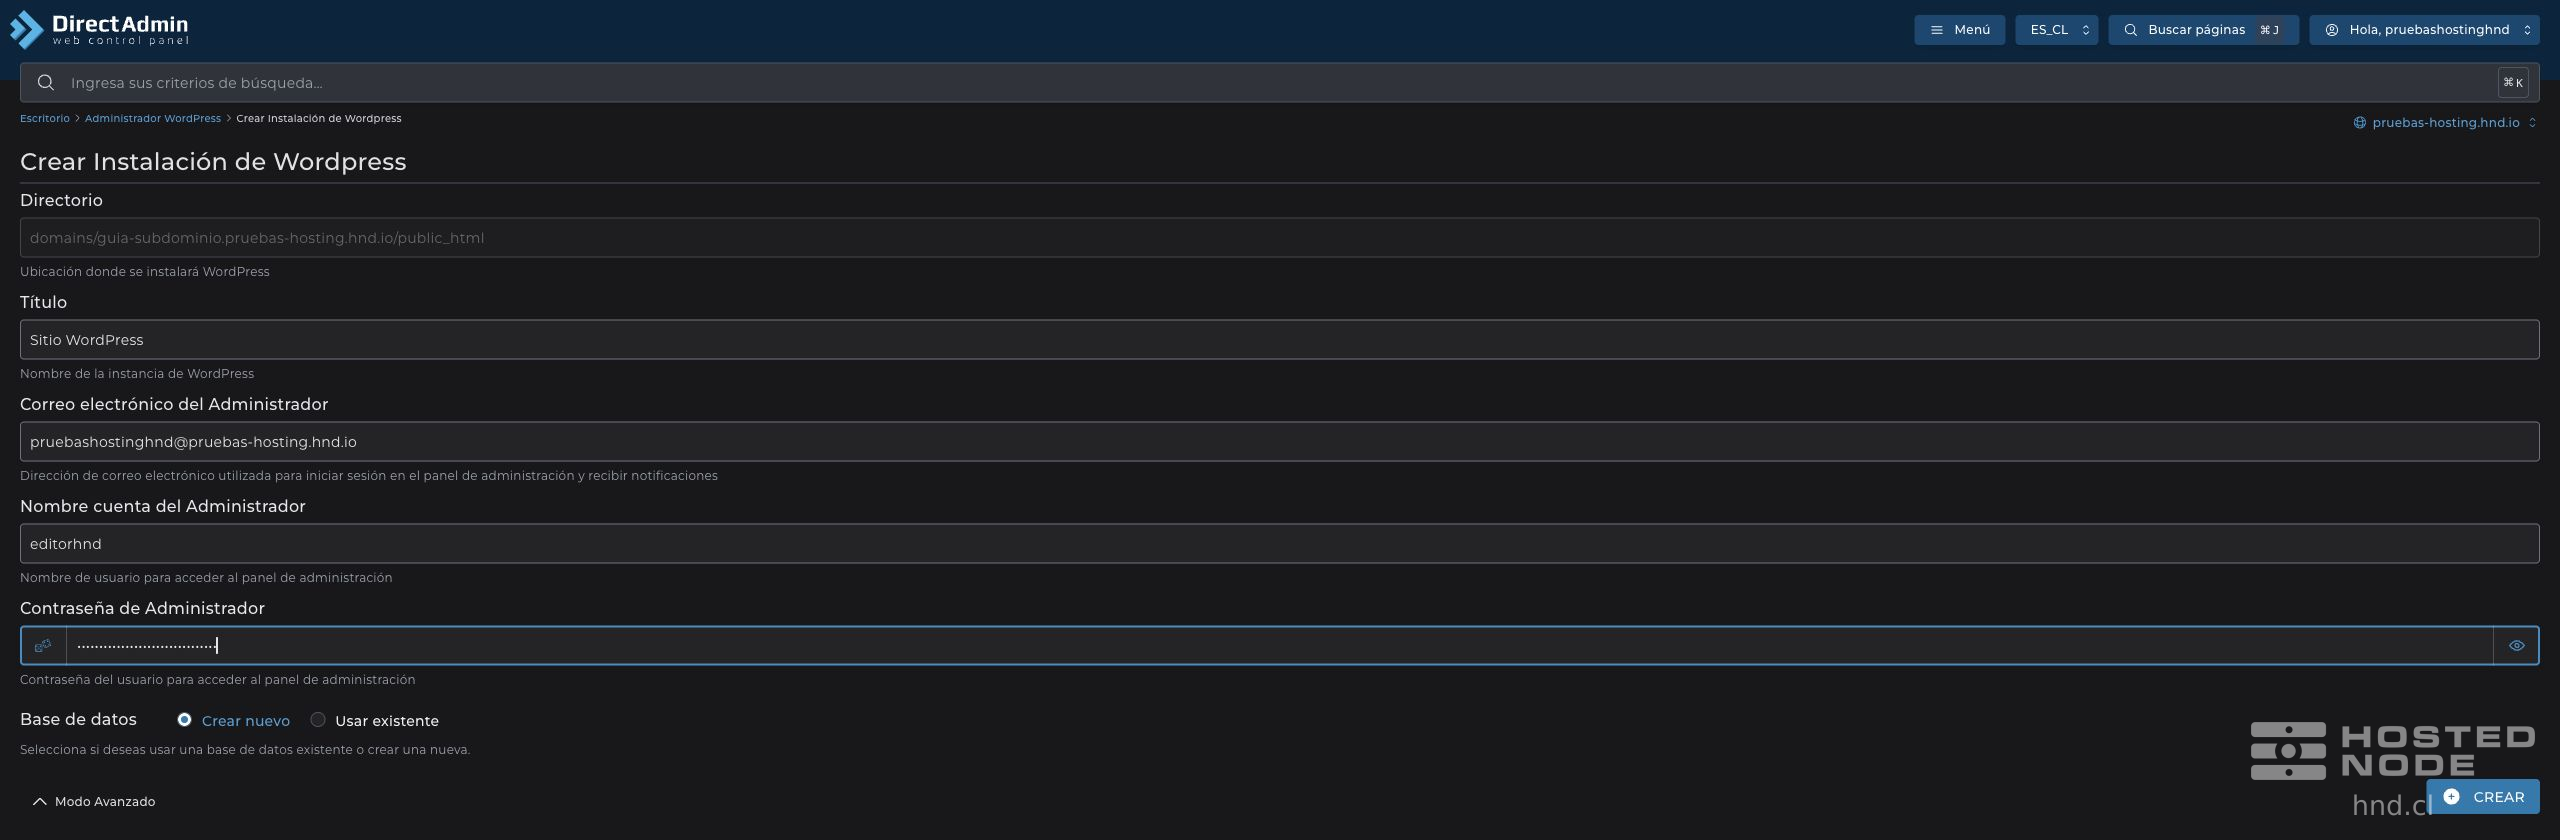
Under Database, Create New lets the installer create the required database. Use Existing requires you to select a suitable database for the site. For a new installation, check that the selected option does not interfere with another application's data.
3. Create and confirm the installation
Click Create. DirectAdmin displays the warning Installing WordPress could overwrite existing files. Do you want to continue?. Confirm only after checking the directory and the corresponding backup.
Wait for WordPress Installed. The summary shows the login URL and private administrator details. Save them before clicking Back to List; do not share the password or capture it in a screenshot.
4. Verify the site
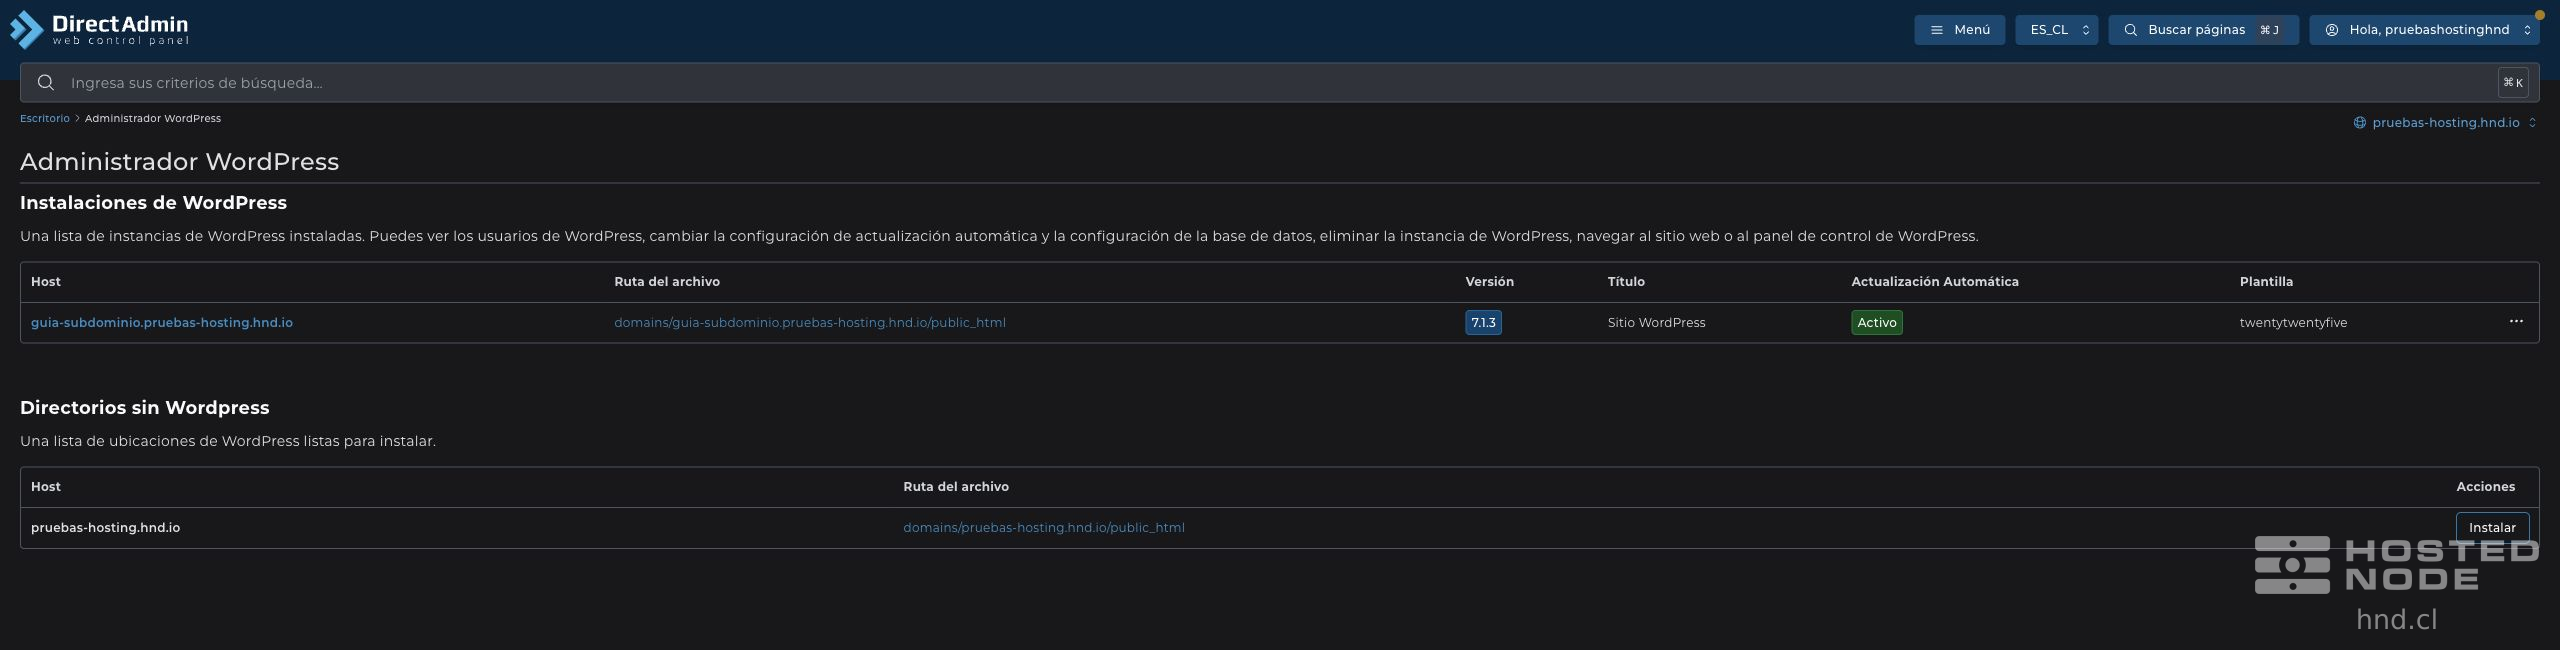
Under WordPress Installations, check the hostname, path, version, and title. The row menu offers Open WordPress Dashboard. Use this option to check that the administration interface loads, and open the site as well.
If the installation does not appear, review the panel's notices before repeating it. If the row exists but the URL does not open, check the DNS, certificate, and site name. Do not confirm another installation in the same folder to try to fix an access problem.