

How to Install WordPress with Softaculous WordPress Management in DirectAdmin
Install WordPress using Softaculous WordPress Management, choose a domain and directory, configure the administrator account, and verify the installation.
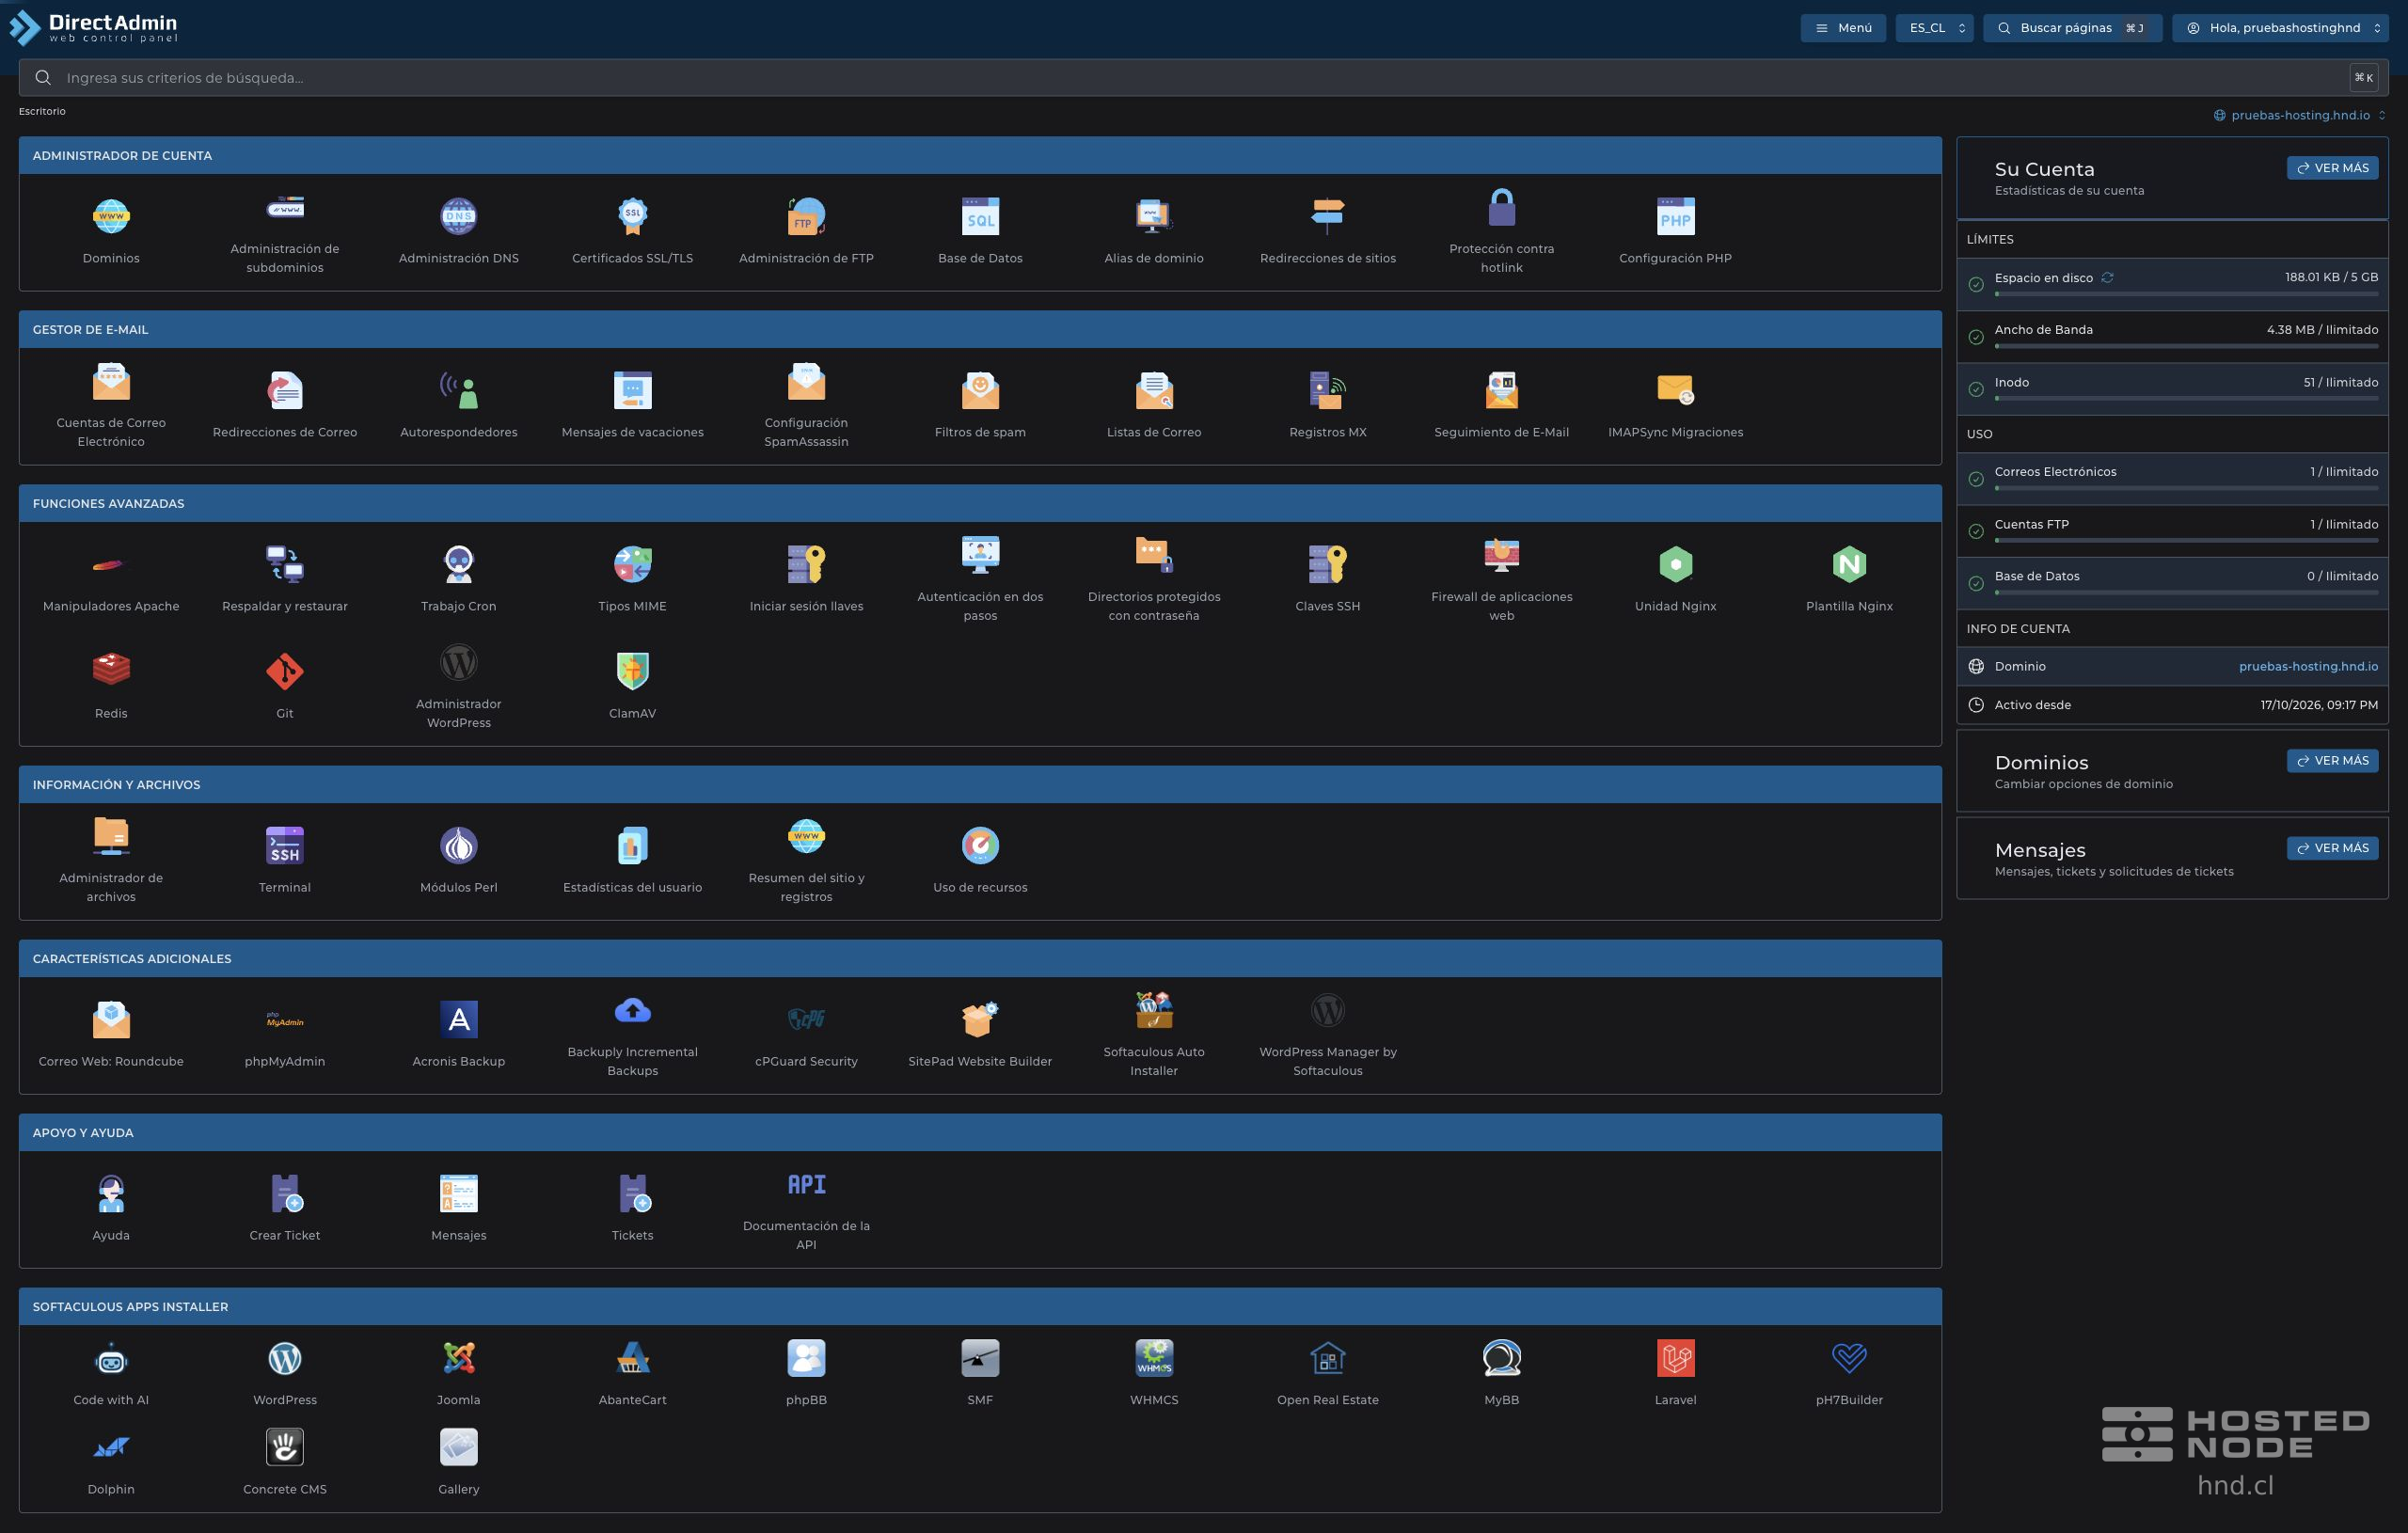
Softaculous WordPress Management lets you start an installation and view it later in its list of sites. The dashboard shortcut is called WordPress Manager by Softaculous, and the plugin screen displays WordPress Management.
Before you begin
Check that the domain or subdomain already exists and points to the hosting.
Choose an unused folder and keep a backup if the site already contains files.
If you will use HTTPS, first check that there is a valid certificate for the chosen name.
Prepare the site title, an administrator username, a unique password, and an email address you control.
1. Open the installer
From the dashboard, go to Additional Features → WordPress Manager by Softaculous. In WordPress Management, click Install. If a plugin introduction appears, close it to continue to the panel.
2. Choose the location and site details
In Choose Installation URL, select the protocol and domain. Use
https://when that domain has a valid certificate.In In Directory, enter only the folder, such as
blog, to install in that subfolder. Leave it empty if you want to install in the root directory and have checked that you will not overwrite another site.Review Your installation URL and the selected version.
Fill in Site Name and Site Description. In Admin Account, set Admin Username, Admin Password and Admin Email.
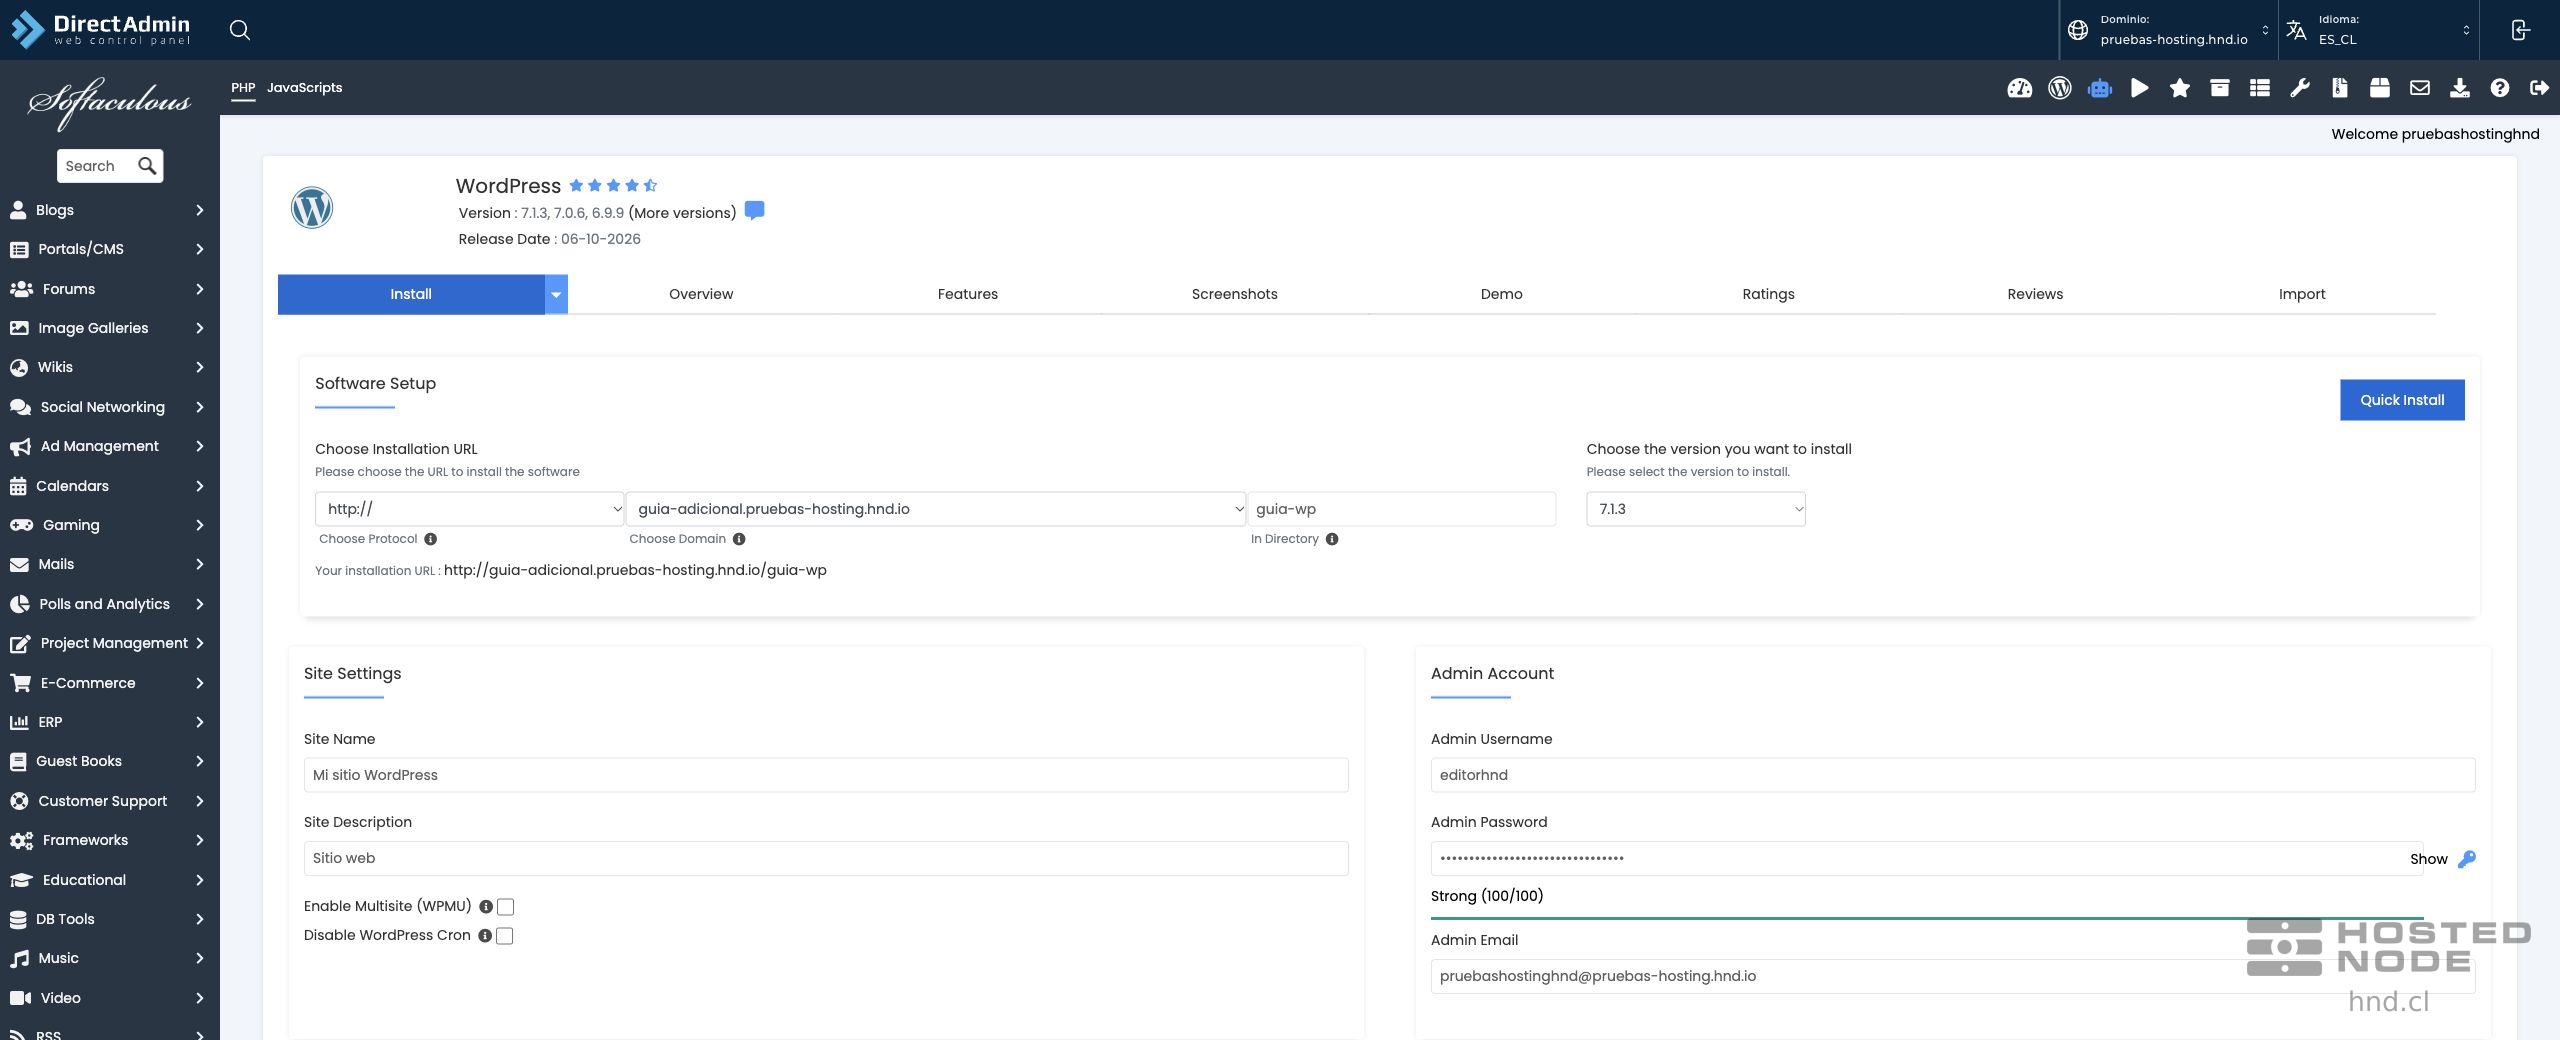
Save the password in a private place and click Hide if it is visible. Review Select Plugins: install only the plugins you have chosen; you do not need to select additional plugins to install WordPress. Keep Multisite and Cron changes aligned with your site's requirements.
3. Review the language and final options
In Select Language, select Spanish to install WordPress in Spanish. Open Advanced Options if you need to review the database name, its table prefix, updates, and backups.
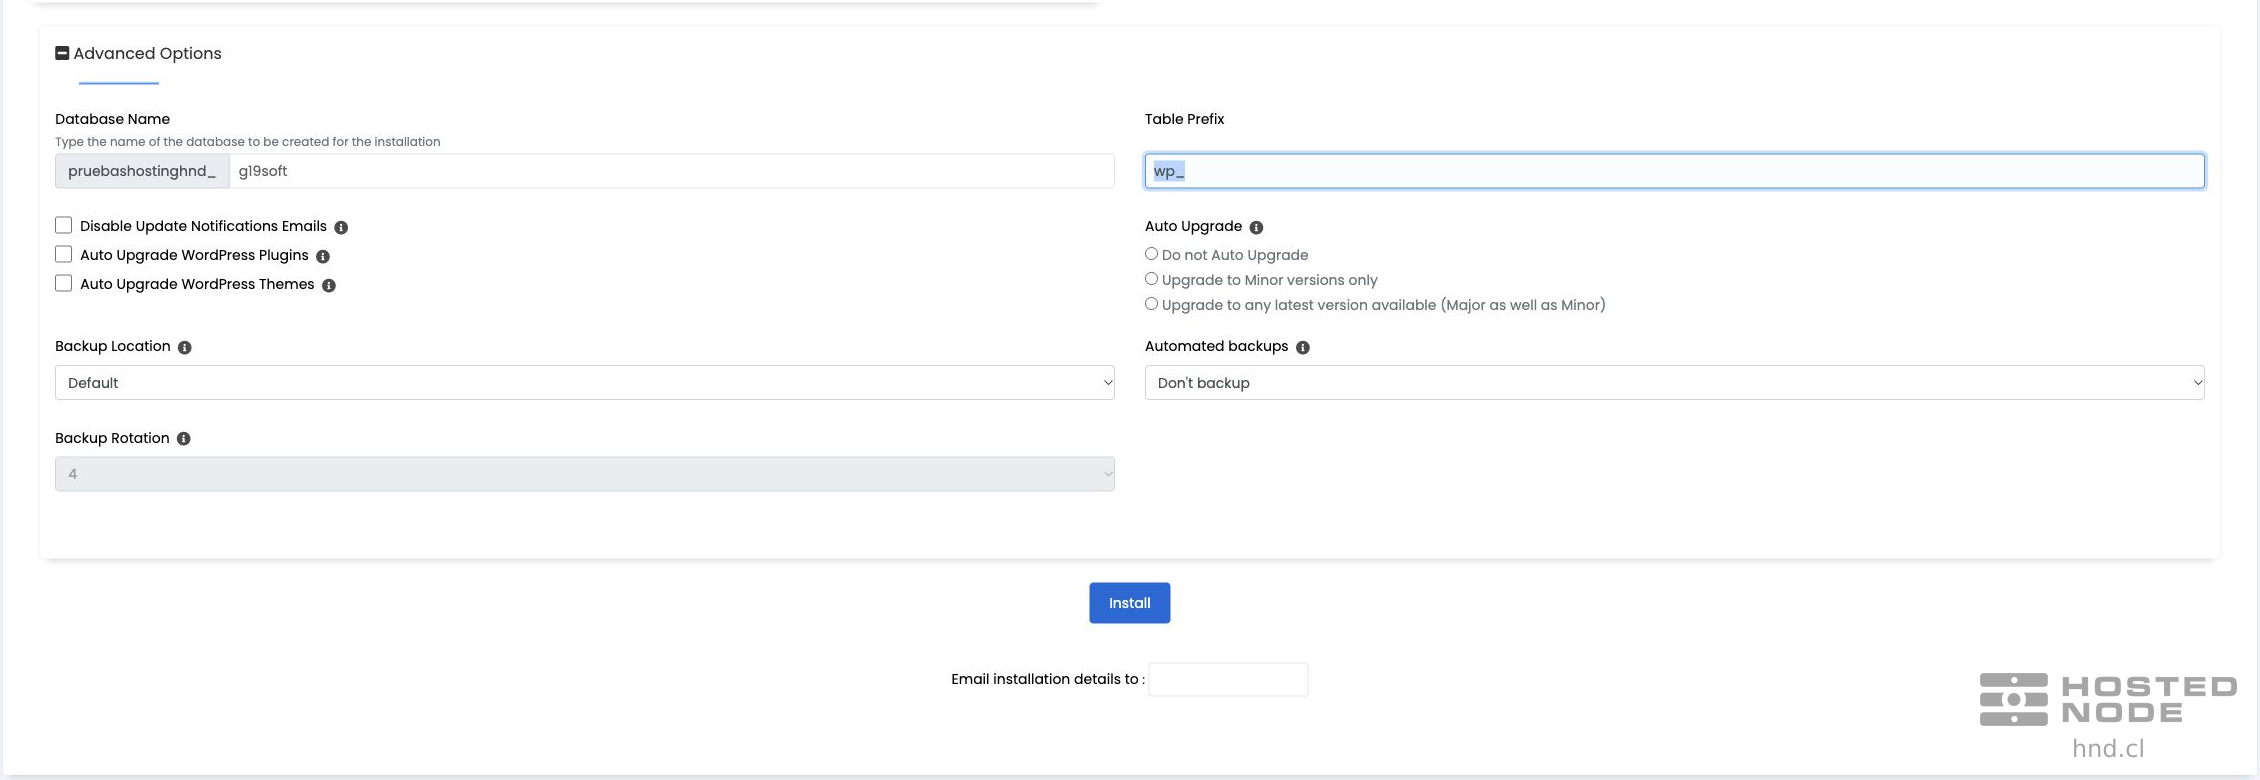
The database name includes the hosting prefix. Follow the maximum length enforced by the form: in the account shown in the images, the suffix allows up to seven characters. If that notice appears, shorten the suffix before continuing.
Review the update and backup options according to your site's needs. Email installation details to is optional; do not enter someone else's address. Click Install once and wait for the result without closing the screen.
4. Check the WordPress installation
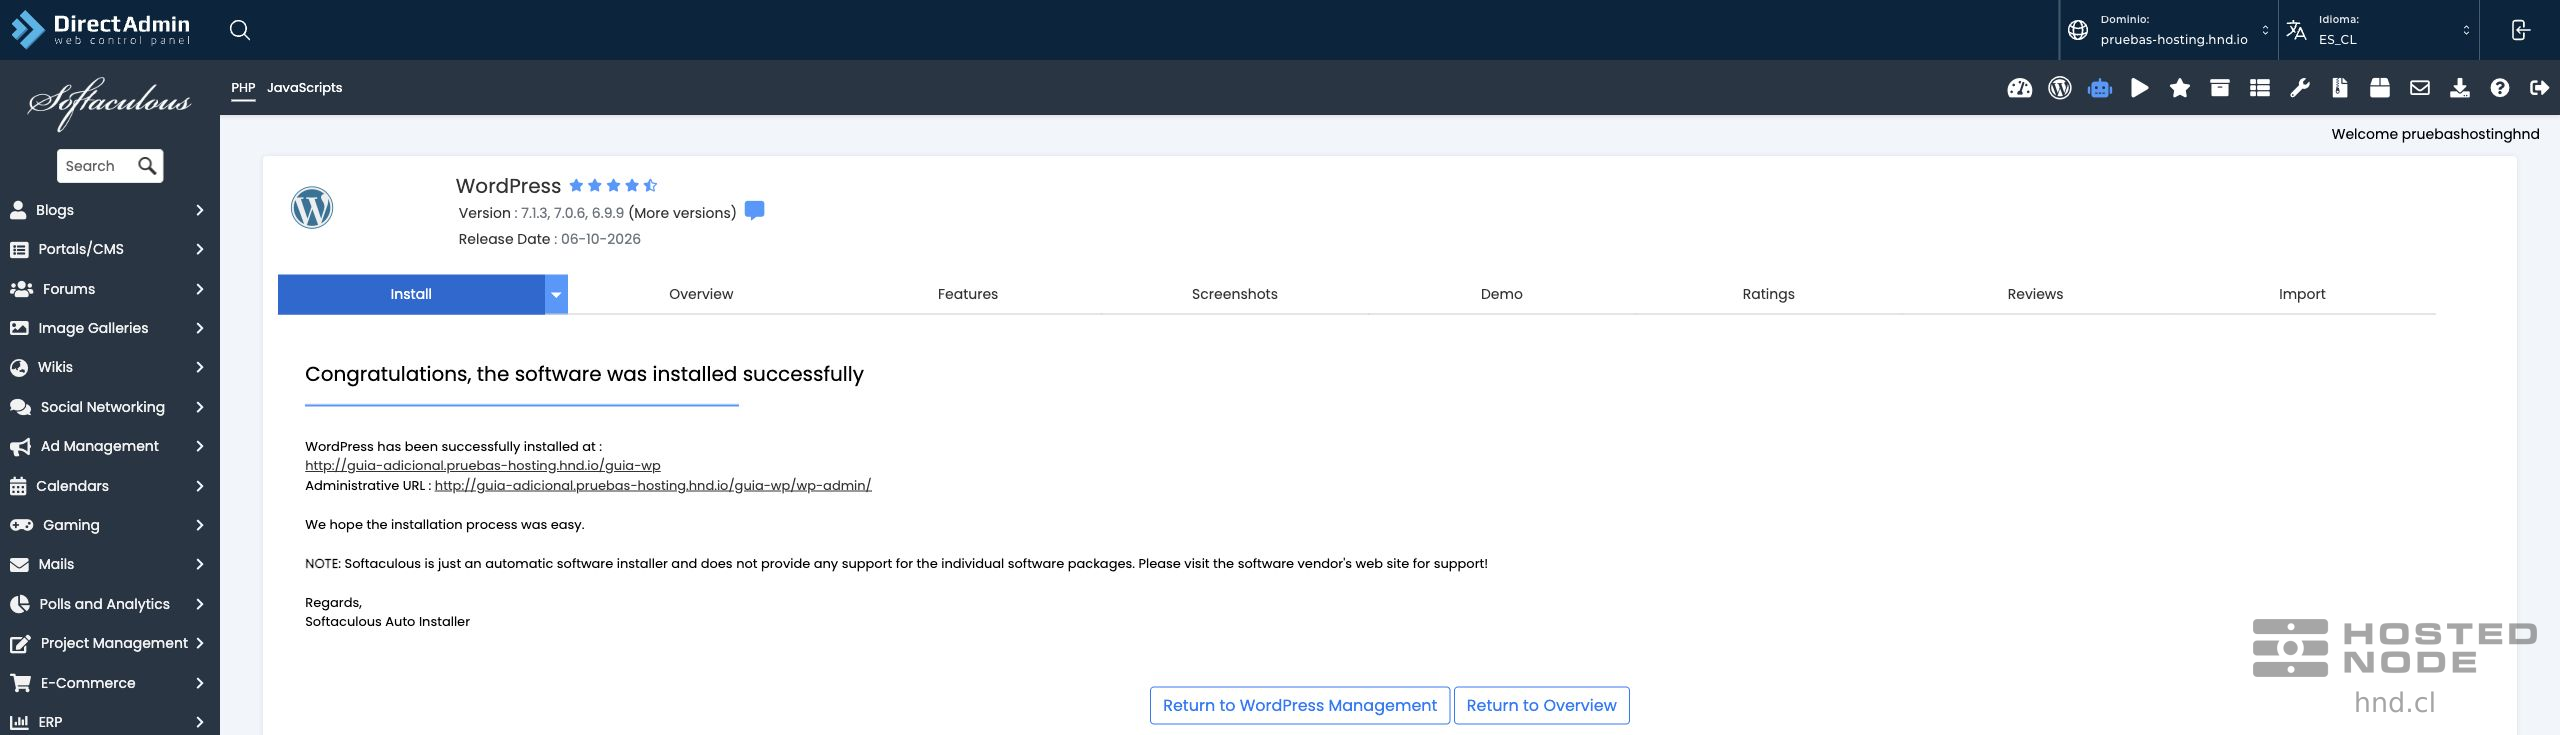
The confirmation displays Congratulations, the software was installed successfully, the site URL, and Administrative URL. Click Return to WordPress Management to return to the list.
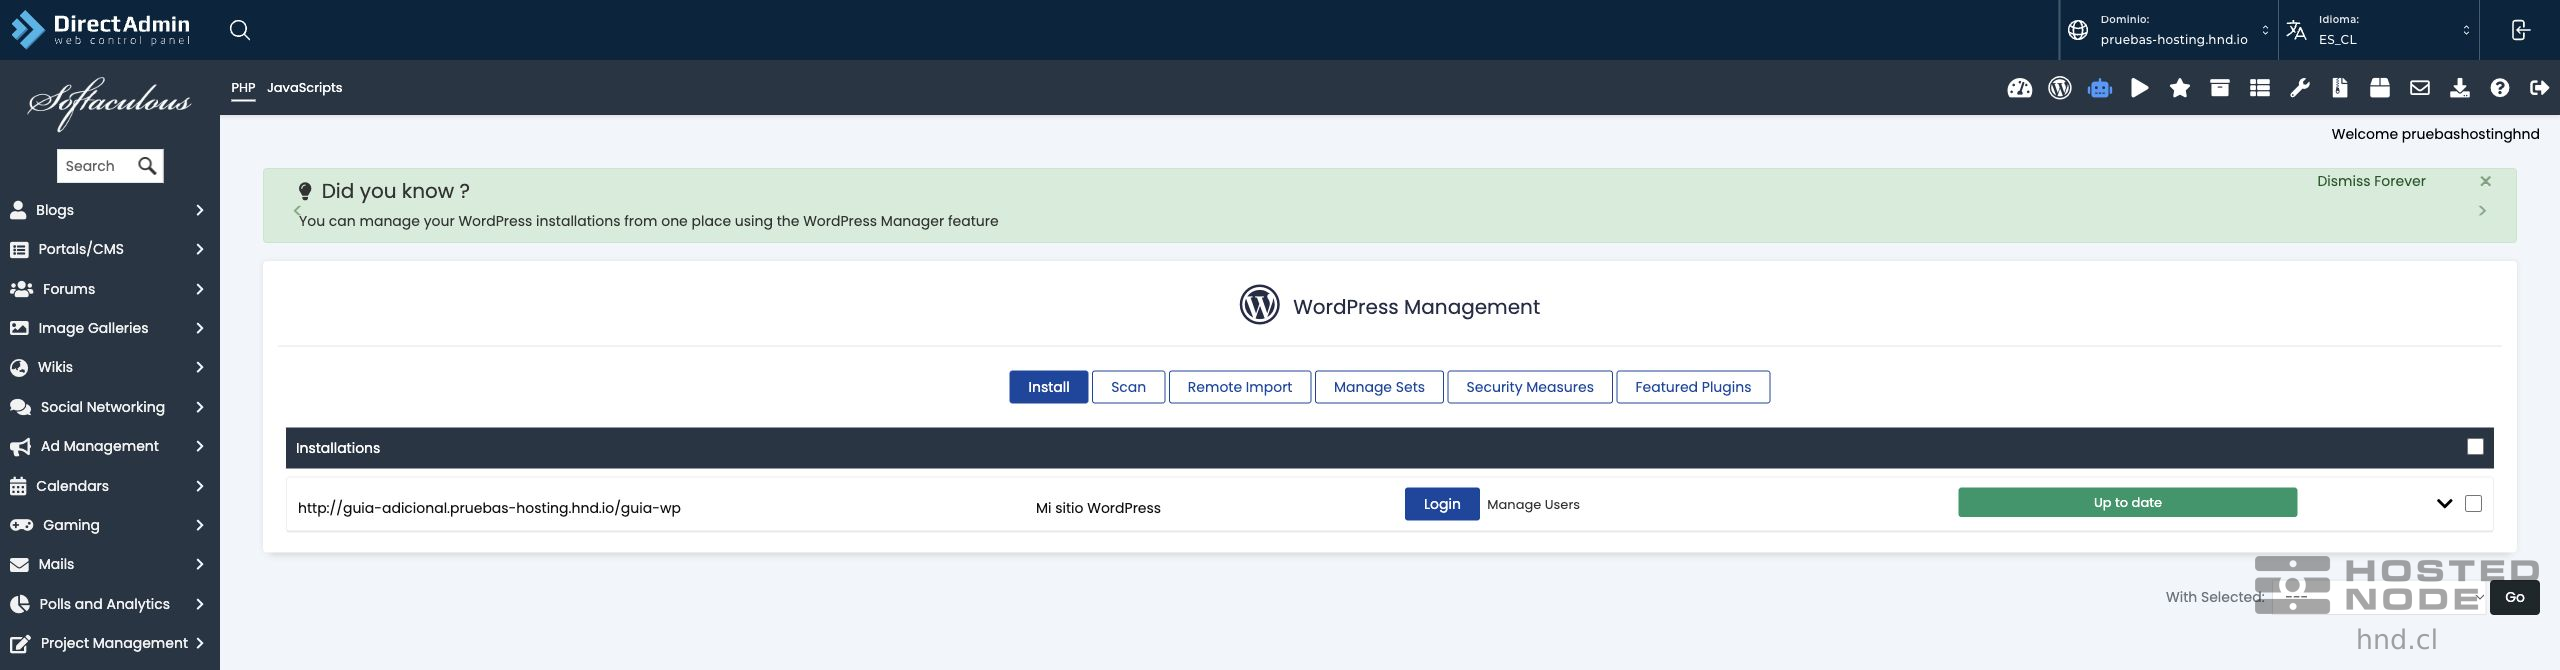
Check the domain, folder, and site name. Open the site and its administration area to verify that they load. A registered installation does not replace DNS and HTTPS checks; if a URL does not open, check that the name resolves and that the chosen protocol matches the available certificate.