

How to Add a Domain Alias and Use It for Email in DirectAdmin
Create a domain alias in DirectAdmin and understand how it receives email in the primary domain’s mailboxes when using local email.
An alias allows another domain to display the selected domain's website. When the alias uses the hosting service's local mail, addresses with the same name also deliver messages to the primary domain's mailboxes.
Before you begin
Set the domain that already contains the website and email accounts you want to use as the active domain.
Use an authorized domain that has not been created as a separate domain in the account.
Check where DNS and email are managed for both domains. If email is managed by an external provider, configure its aliases with that provider.
1. Create the alias
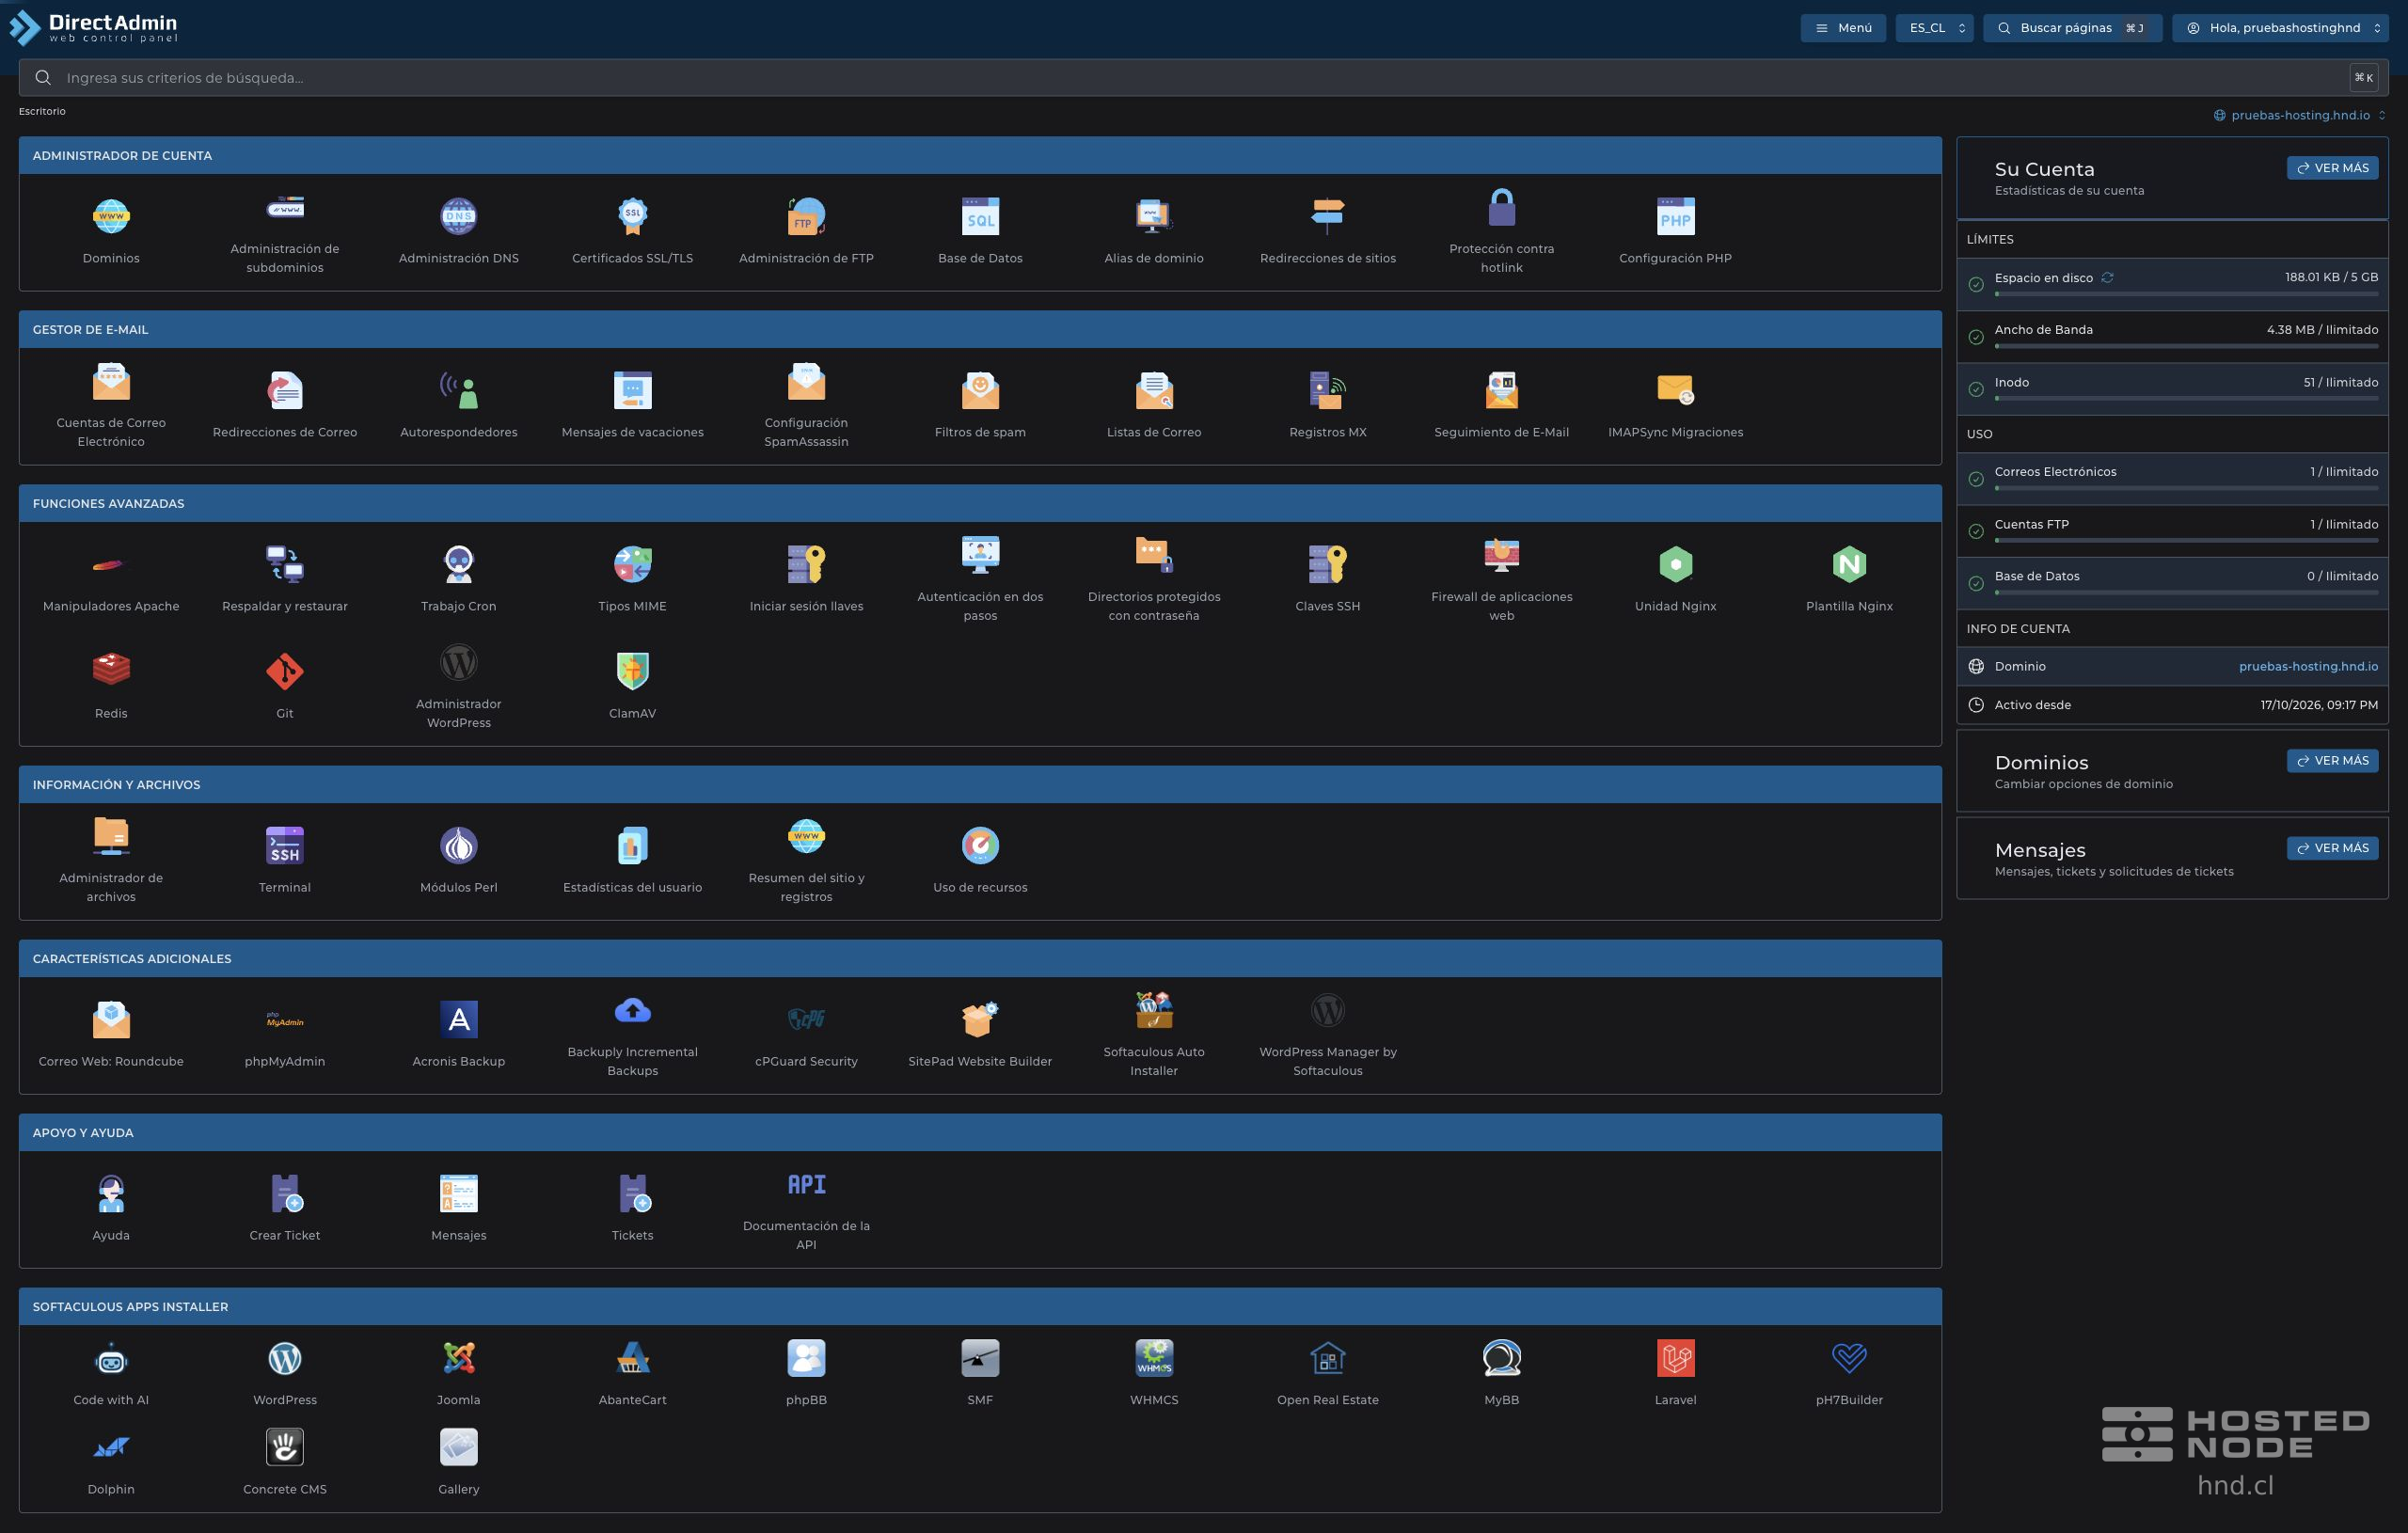
Open Account Manager → Domain Pointers and click Create Domain Pointer.
In Source Domain, enter the domain to use as the alias, without a protocol, paths, or the prefix
www.Check that Target Domain shows the correct primary domain.
Keep the Create as an Alias checkbox selected so that the other name serves the same website.
Click Create and wait for the confirmation Domain Pointer Added.
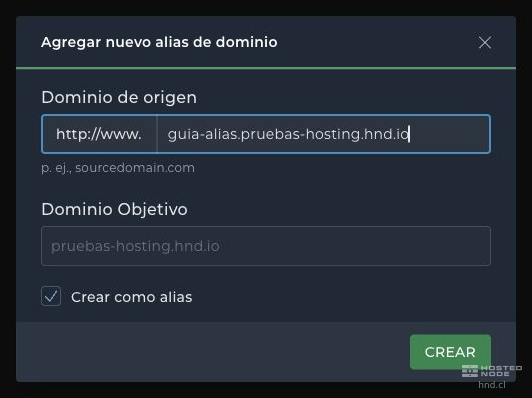
If you clear Create as an Alias, web requests are redirected to the target domain. To display the website while retaining the alternative name, use the alias option.
2. Check local mail for the alias

In the list, check the name, the Type and the Local Mail column. With local mail enabled, the alias shares the target domain's recipients.
For example, if ventas@example.com exists and you add example.net as an alias of that domain with local mail, messages addressed to ventas@example.net are delivered to the same mailbox as ventas@example.com. No second mailbox or separate quota is created for each alternative name.
The alias retains the same part before the @ sign. It does not turn nonexistent addresses into valid mailboxes or select a different recipient. To manage the mailbox, continue using the primary domain's account.
If you need to enable local delivery for an existing alias, select it and use Set Local Mail. Set Remote Mail is for a domain whose email is managed outside this server. Confirm the mail destination before changing it.
3. Verify the website and mail delivery
Check that the alias's DNS points to the hosting service and that its MX records correspond to the provider that will receive its email. HTTPS requires a valid certificate that includes the alias.
Open the alias in your browser. To check local mail, send a message to an existing address using the alias domain and check the equivalent mailbox on the primary domain. Seeing the alias listed in the control panel confirms its creation, but does not by itself verify DNS resolution or email delivery from the Internet.